Performance Center and TeamCity
The TeamCity plugin enables you to run tests as part of your CI/CD process.
Install and deploy the TeamCity plugin (Performance Center CI)
-
Verify that your TeamCity server is up and running. For details, see the TeamCity Documentation.
For the supported server versions, see the Integration with non-Micro Focus products section of the System Requirements.
-
Download the Performance Center-TeamCity extension plugin file which is available from: https://plugins.jetbrains.com/plugin/10694-performance-center-ci
-
Install the Performance Center plugin.
-
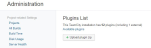
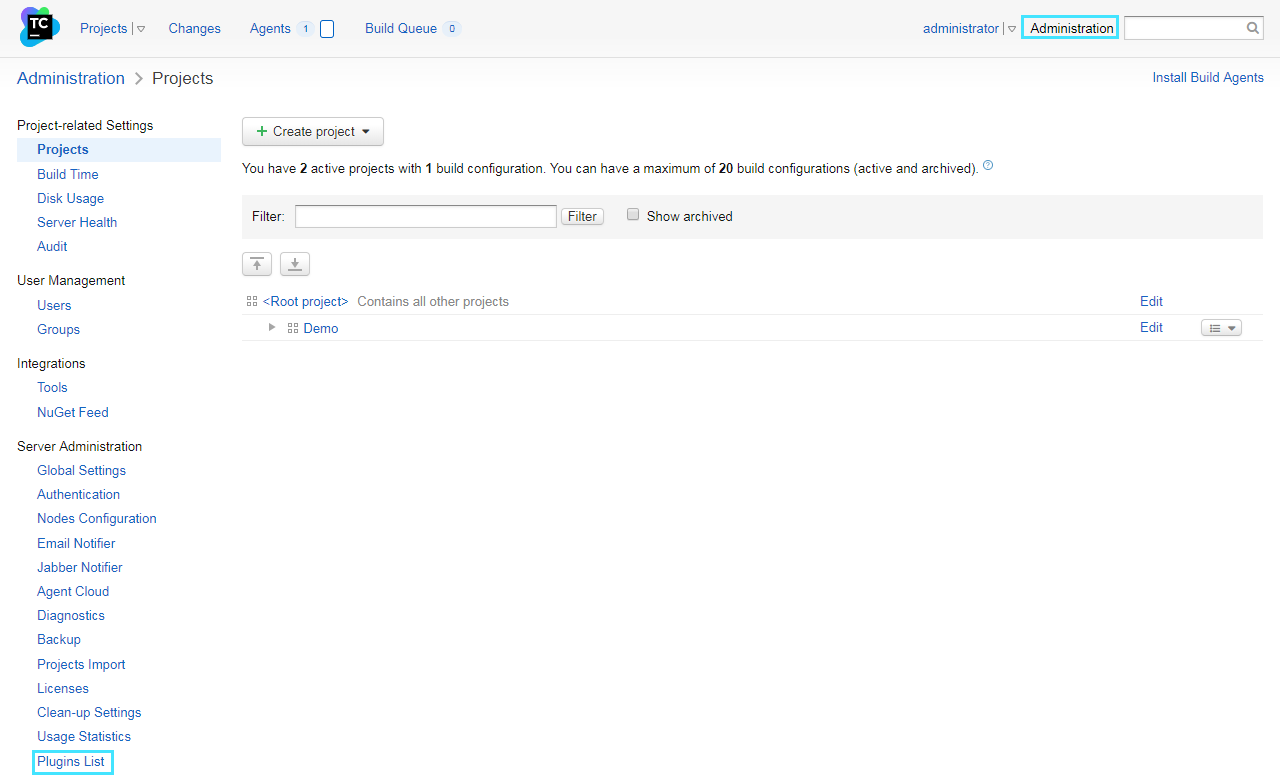
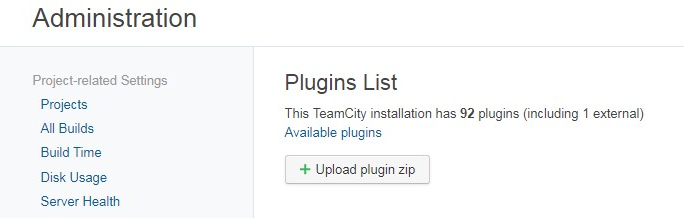
From TeamCity > Administration, under Server Administration click Plugins List.

-
In the Plugins List page, click Available plugins and search for "Performance Center".
- The External plugins page opens and displays the Performance Center CI plugin. Click
 Download plugin.
 - After downloading the plugin, in the Plugins List page click Upload plugin zip to upload the Performance Center CI plugin.
- Restart your TeamCity server.
-

Add a Performance Center test to your build step in TeamCity
-
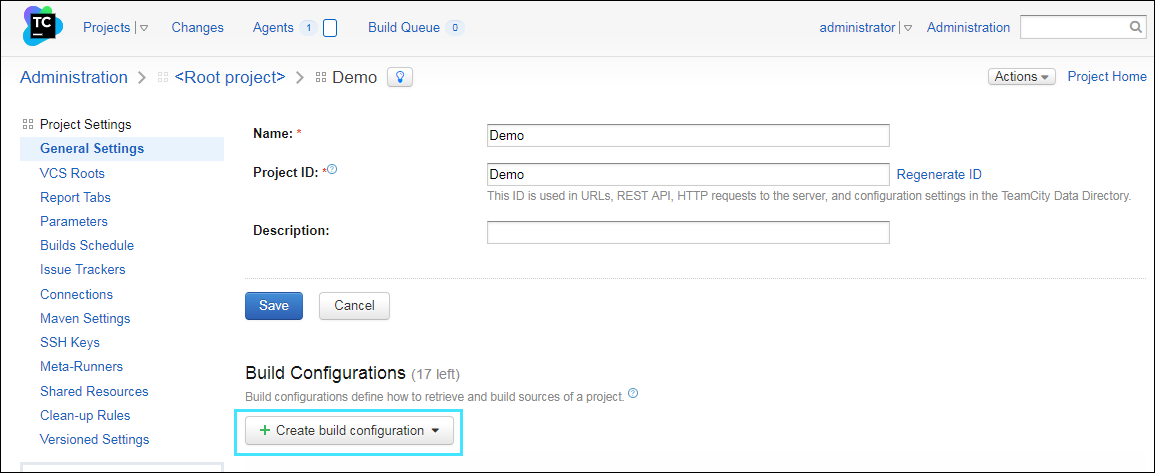
In your TeamCity project, create a new build and enter the required configuration details.

-
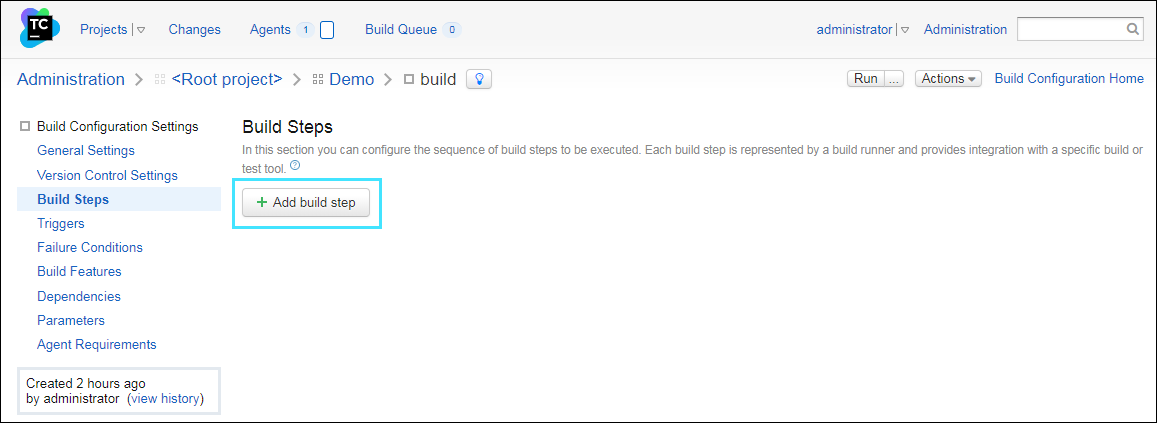
For the build you created, select Build Steps and click Add build step.

-
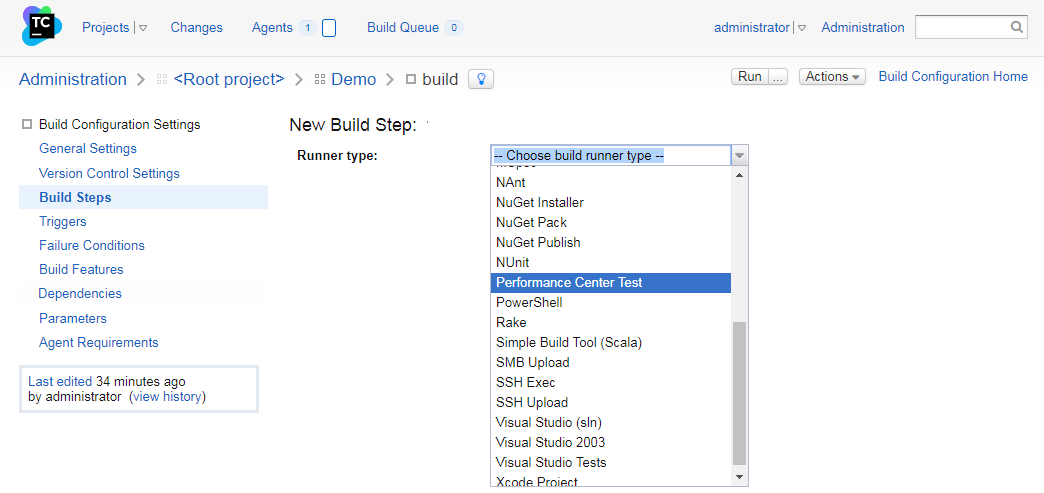
Select the Performance Center Test build runner type.
-
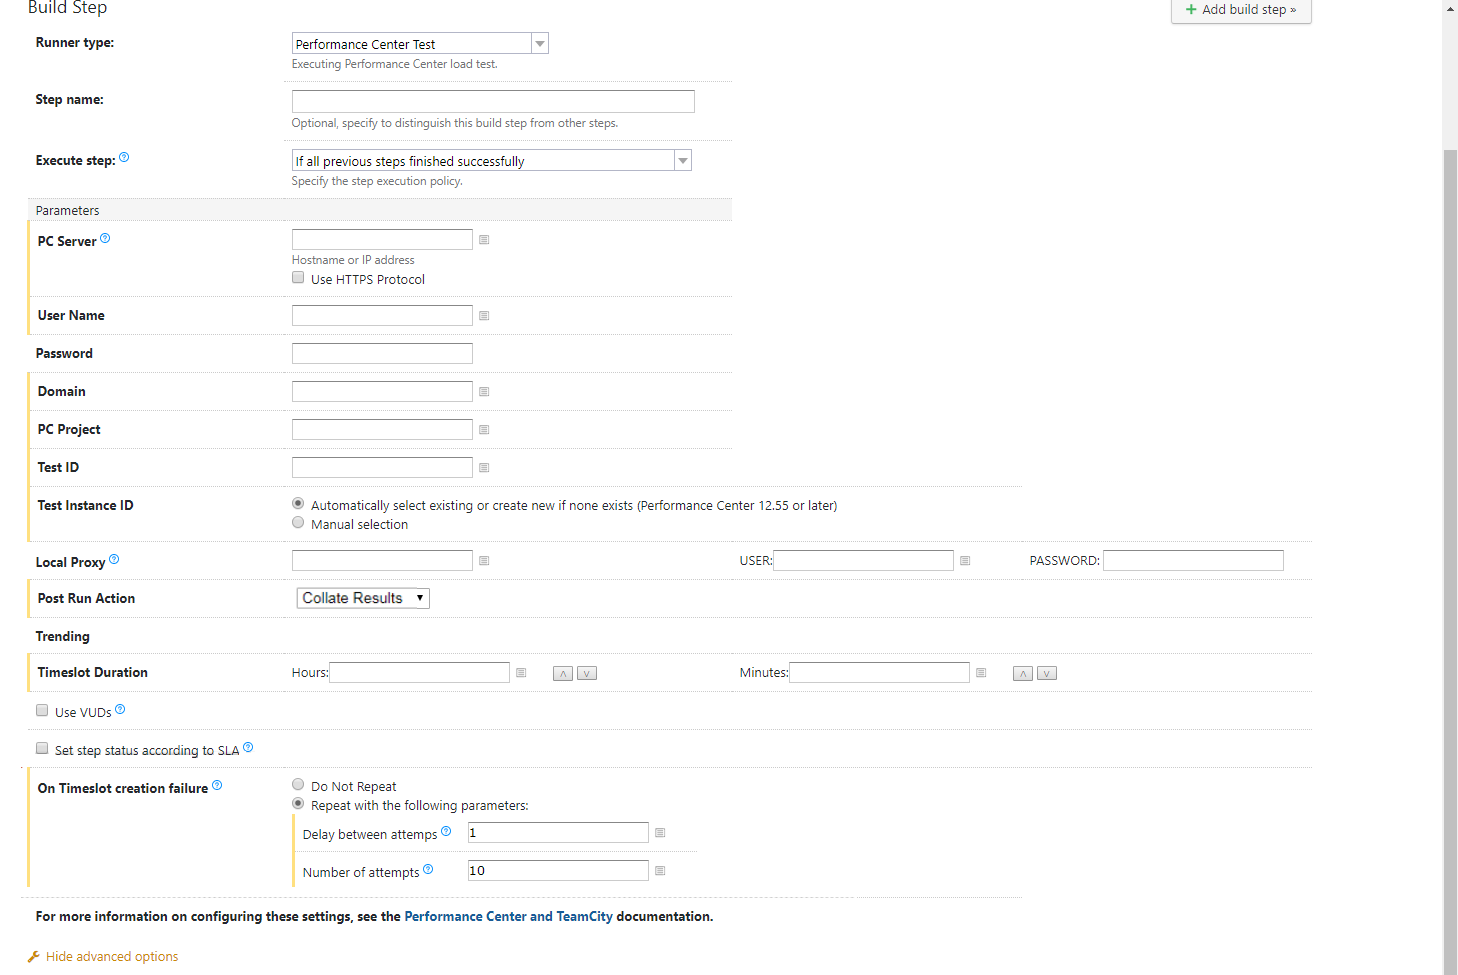
Add the following step details:
Argument Description Runner type Displays Performance Center Test, the build runner type you selected in the previous step. Step name (Optional) Enter a name to distinguish this build step from other steps. Parameters PC Server Enter the hostname or IP address of a Performance Center server.
Example: If the Performance Center server URL is
http://MY_SERVER/loadtest, enterMY_SERVER.Use HTTPS Protocol Select this option if you are running the TeamCity build over a secured Performance Center server. User name Enter the user name required to connect to the server. Password Enter the password required to connect to the server. Domain Enter the Performance Center domain. PC Project Enter the name of the Performance Center project. Test ID Enter the Test ID. You can get the ID from Performance Center > Test Management > Test Plan view. Select your test and find the ID in the General Details: ID <number>. Test Instance ID Select an option for adding the Test Instance ID:
-
Automatically select existing or create new if none exists (Performance Center 12.55 or later). If you select this option, Performance Center creates a test instance or locates the existing test instance.
-
Manual selection. Enter the Test Instance ID (available from Performance Center > Test Management > Test Lab > Performance Test Set view).
Local Proxy Choose whether to use a local proxy (leave empty if not using a local proxy).
If you use a proxy, enter a proxy in the format
http(s)://host:port, and enter the user name and password.Note: PAC (proxy auto-config) or Automatic configuration script are not supported.
Post Run Action Choose a Post Run Action: Collate Results, Collate and Analyze, or Do Not Collate. Trending Select a trend report option:
-
Do Not Trend. No trend report is created.
-
Use trend report associated with the test (Performance Center 12.55 or later). If Auto Trending is selected in the Load Test, select this option to automatically publish trend results.
-
Add run to trend report with ID. If you select this option, enter the trend report ID (supported for version 12.53 or later).
Timeslot Duration Enter a duration for the Ad-Hoc timeslot.
Maximum: 480 hours
Minimum: 30 minutes
Use VUDs
Choose whether to use a Virtual User Day (VUD) license. This provides you with a specified number of Vusers (VUDs) that you can run an unlimited number of times within a 24 hour period.
Before using this option, make sure that VUD licenses are applied in your Performance Center environment.
Set step status according to SLA Select this option to set the build-step status according to a predefined SLA (Service Level Agreement) configured within your performance test.
If you do not select this option, the build-step will be labeled as "Passed" as long as no failures occurred.
On Timeslot creation failure Choose an action to perform if the timeslot cannot be created: Do not repeat (the task ends), or Repeat with the following parameters:
-
Delay between attempts. Amount of time, in minutes, to wait between a failed attempt and the next attempt (the minimum is 1 and the maximum is 10).
-
Number of attempts. The number of attempts to run the test (the minimum is 2 and the maximum is 10).

-
-
Save your build step settings.
View the test results
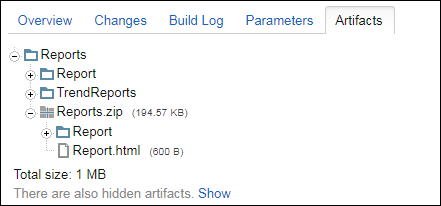
After a test run, Performance Center automatically saves the run results as an artifact with the build.
Navigate to the build artifacts specified in the Artifact path and locate the Report.html file to view the test results. You can also review the Trend reports if selected.
 See also: