
Share this page


Adding an AccuRev Server
In the
AccuRev Plug-In for Eclipse, you are asked to select the
AccuRev Server where your
AccuRev files are stored. If your
AccuRev Server does not appear as a choice, you can add the server using this procedure.
-
Click the New button on the Eclipse toolbar.
The New Project dialog box opens.
-
In the Wizards window, navigate to AccuRev > Project from AccuRev. (If you have many wizards, simply type A in the Wizards window to jump directly to AccuRev in the list.)
-
Click Next.
Note: If you are not already logged in to AccuRev, you are prompted to do so. See Logging In to AccuRev.
The Checkout from AccuRev page opens.
- Click the
Add Server button to add a server to the list of servers.
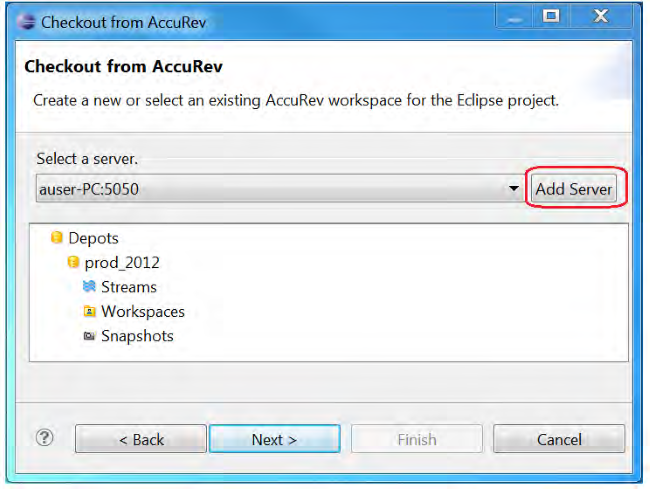 The Available AccuRev Servers dialog box appears.
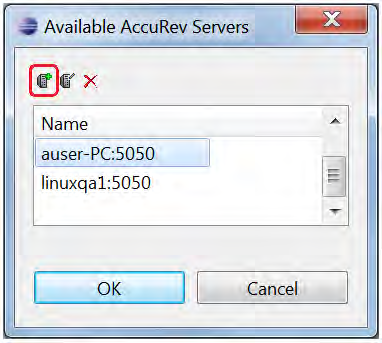
- Click the
Add Server button.
The New Server dialog box appears.
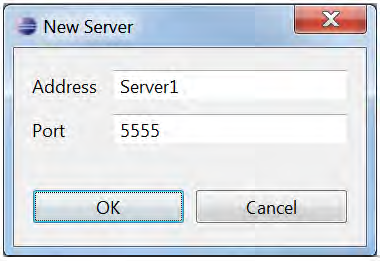
- Complete the
Address and
Port fields and click
OK.
The new server is added to the list of servers.


