Step 3: Deploy SSO Components
Prerequisite: you already complete Step 2: Configure IdP - alm.
This step is to deploy the SSO components in the ALM server.
Note: After completing this step, you should be able to load the ALM SP metadata in http(s)://{server}:{port}/osp/a/alm/auth/saml2/sp-metadata. If you fail to load the SP metadata, see FAQ for details.
How to deploy the SSO components
Run the following script as administrator. If ALM is in a cluster environment, run the script in each node.
- Windows:
{ALM Installation Directory}\ALM\run_osp_deploy.bat - Linux:
{ALM Installation Directory}\run_osp_deploy.sh
You will be asked to restart ALM service during deployment. Stop the ALM service to continue the deployment process and restart the ALM Service after successful deployment. If you do not stop ALM Service, the process is aborted.
When you should re-deploy the SSO components
If you do any of the following after deploying the SSO components, you should re-deploy the SSO components:
- Make any changes to the ALM SP configuration, as described in Step 1: Configure ALM as SP.
- Edit, add, or remove an IdP.
FAQ
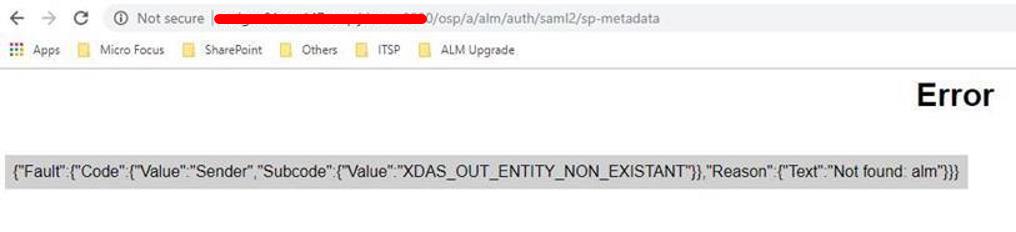
A: The error message indicates the SP service is not started successfully. The SSO components have been deployed successfully, but some settings in the alm IdP are not correct. You should fix the settings and restart the ALM service.
A: The ALM SSO components are deployed as additional web components in the same web container as the ALM service. Same as the ALM service, the logs of the SSO components are written to the wrapper log. However, the log level is configured in a different way.
- Open the SP configuration file in the ALM repository:
{ALM repository}\sa\DomsInfo\osp\basic.properties. - Set "logging.level=ALL" so that all the debug level logs can be captured into the
wrapper.logfile. Do not modify other values in the SP configuration file. - Restart ALM and login ALM again.
- Open the latest w
rapper.logfile to look for logs related to "osp". - If you need more details, check the two properties files under
{ALM repository}\sa\DomsInfo\osp\.
 Next steps: