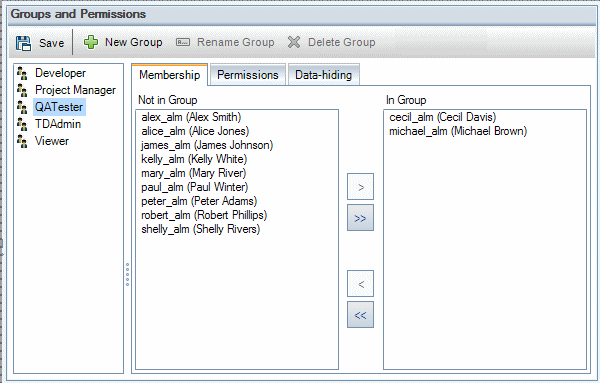
If you determine that the default user groups do not meet the needs of your project, you can create additional user groups for your project. When you add a new user group, you set the group's permissions according to an existing user group.
-
In the Project Customization window, in the left pane, click Groups and Permissions. The Groups and Permissions page opens.

-
Click the New Group button. A confirm message box opens. Click Yes to continue. The New Group dialog box opens.
-
In the New Group Name box, type a name for the group. A group name cannot include the following characters: ( ) @ \ / : * ? " ` < > | + = ; , %
-
In the Set As list, assign the privileges of an existing user group to the new group.
Choose an existing user group that has similar access privileges to the new user group you want to create. This minimizes the level of customization you need to do.
-
Click OK. The new group name is added to the group list in the Groups and Permissions page.
-
Click Save to save your changes to the Groups and Permissions page.


