Share this page


Creating Business Views
Business views are a semantic data layer that can be used as a basis for the various ALM reporting tools. Business views are based on project entities, and ensure that only information that is relevant to a business consumer is contained in the report.
In the following exercise you will create a business view for creating graph reports.
To create a business view:
-
Make sure that the Project Customization window is displayed.
For details on how to open the Project Customization window, see Starting Project Customization.
-
Open the Business Views page.
In the Project Customization window, click the Business Views link. The Business Views page opens.

-
Create a new business view.
-
Click Add View. The New View dialog box opens.
-
In the Label box, type Mercury Tour Defects. In the Technical Name box, type MT_Defects. Click OK to close the New View dialog box.
-
-
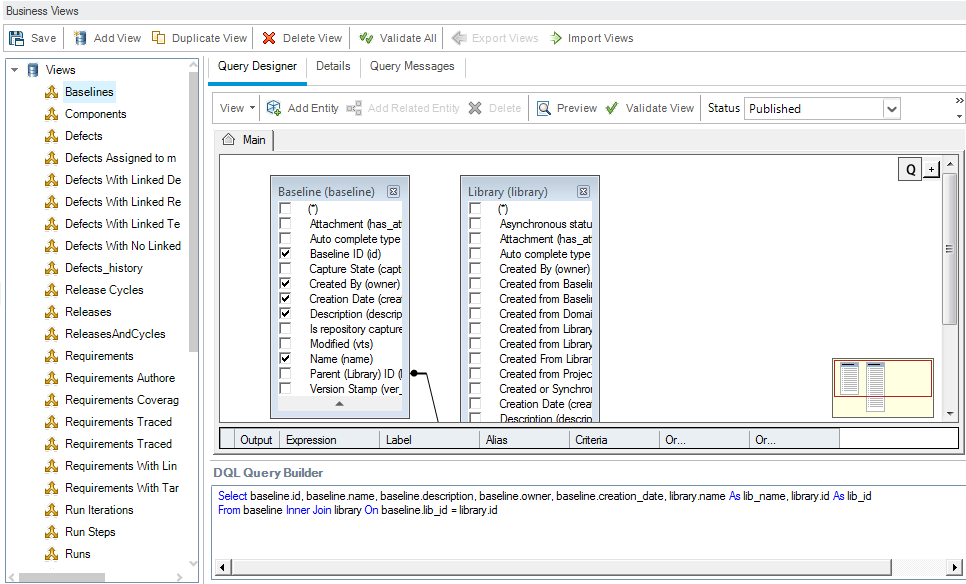
Add project entities to your business view.
-
Click Add Entity in the Query Designer tab. The Model tree opens in the right pane. The Model tree displays all project entities and fields in the current project.
-
Select the Defect entity and click the Add arrow to move it to the Main pane.
-
-
Define relationships between the project entities.
-
In the Main pane, select the Defect entity.
-
Click Add Related Entity. The Add Related Entity dialog box opens.
-
In Target Entity, click the arrow and select Requirement. The Relation Name field is automatically valued with Linked Requirements.
-
Click OK.

-
-
Preview the new business view.
-
Click Validate. Any validation warning or error messages are shown in the bottom pane.
-
Click Preview. The Query Results are shown in the bottom pane.
-
Change the Status to Published.
-
Click Save.
-