
Share this page


Developing a Test Plan Tree
The typical application is too large to test as a whole. The Test Plan module enables you to divide your application according to functionality. You divide your application into units, or subjects, by creating a test plan tree. The test plan tree is a graphical representation of your test plan, displaying your tests according to the hierarchical relationship of their functions. After you define subjects in the tree, you decide which tests to create for each subject, and add them to the tree.
In this exercise, you will add a subject and a test to the test plan tree in the Test Plan module.
To develop a test plan tree:
-
Open the ALM_Demo project.
If the ALM_Demo project is not already open, log in to the project. For details, see Starting ALM.
-
Display the Test Plan module.
On the ALM sidebar, under Testing, select Test Plan.
-
Add a subject folder to the test plan tree.
-
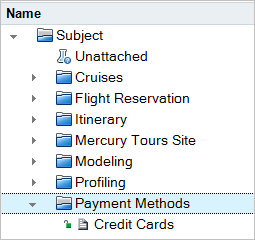
Select the Subject folder and click the New Folder button. The New Test Folder dialog box opens.
-
In the Test Folder Name box, type Payment Methods. Click OK. The new folder is added to the test plan tree.
-
In the Description tab in the right pane, type a description of the subject: This folder contains tests that verify the payment methods.
-
-
Add a test to the subject folder.
-
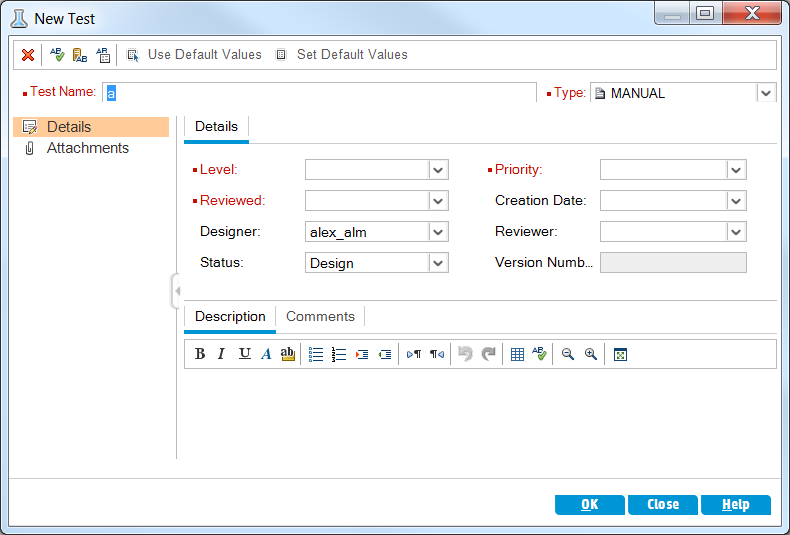
Select the Payment Methods folder and click the New Test button. The New Test dialog box opens.
-
In the Test Name box, type a name for the test: Credit Cards.
-
In the Type box, select MANUAL to create a manual test.
-
In the Details tab, select the following:
Level: Basic
Reviewed: Not Reviewed
Priority: 4-Very High
-
In the Description tab, type a description for the test: The test verifies credit card types.
-
Click OK. The new test is added to the test plan tree under the Payment Methods folder.
-


