
Share this page


Updating Defects
Tracking the repair of defects in a project requires that you periodically update defects. You can do so directly in the Defects Grid or in the Defect Details dialog box. The ability to update some defect fields depends on your permission settings. After you have updated defects, you can view the quality status of your release in the Releases module.
In this exercise, you will update your defect information by changing the severity of a defect, assigning the defect to a cycle, and adding a comment. You will then see how updating defects is reflected in the Quality tab of the Releases module.
In addition, you will practice updating multiple records simultaneously.
To update defects:
-
Make sure that the Defects module is displayed.
If the Defects module is not displayed, on the ALM sidebar, select Defects.
-
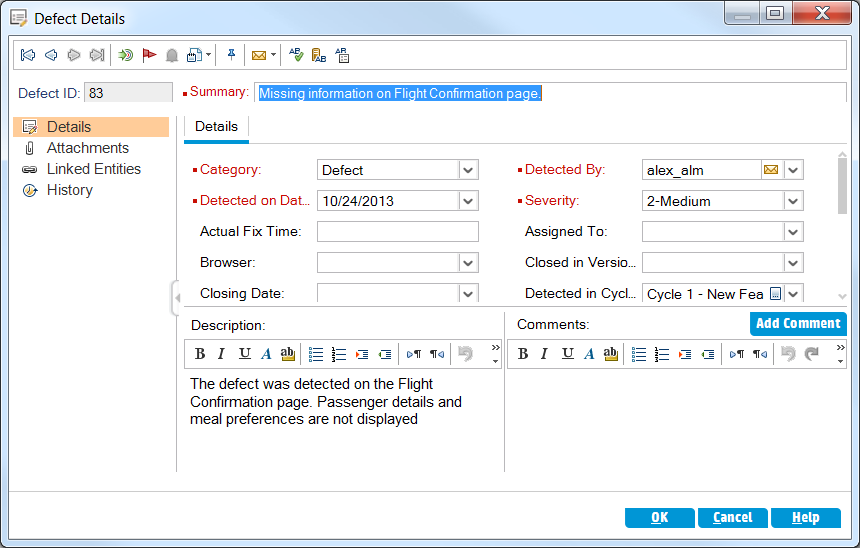
Open the Defect Details dialog box.
In the Defects Grid, select the defect you added in Adding New Defects. Click the Defect Details button. The Defect Details dialog box opens.
-
Change the severity level of the defect.
In the Severity box, select 5-Urgent.
-
Determine the cycle in which the defect will be fixed.
-
In the Target Cycle box, click the arrow. The releases tree opens. Expand the tree. In the Mercury Tours Application releases folder, in the Release 10.5 release, select the Cycle 4 a - Full cycle.
-
Click OK to close the releases tree.
You can see that ALM automatically assigns the value Release 10.5 to the Target Release field. This is because the Cycle 4 a - Full cycle is part of the Release 10.5 release.
-
-
Add a new comment to explain the change in the severity level.
-
Click the Add Comment button. A new section is added to the Comments box, displaying your user name and the current date.
-
Type: This defect should be fixed in the next service pack.
-
-
View the Attachments.
Click Attachments on the sidebar. Note that the URL attachment is listed.
-
View Linked Entities.
Click Linked Entities on the sidebar to view entities that have been linked to the defect. Linked entities can include requirements, tests, test sets, test instances, runs, run steps, and other defects. There are currently no linked entities. You will learn how to link a defect to a test in Linking Defects to Tests.
-
View the History.
Click History on the sidebar to view the history of changes made to the defect. For each change, the grid displays the date and time of the change and the name of the user who made the change. You can expand a change to view a list of fields modified during the change. For each field, the grid displays the old value and the new value.
-
Close the Defect Details dialog box.
Click OK to exit the dialog box.
-
Update defects directly in the Defects Grid.
-
In the Defects Grid, select defect 35.
-
Click the Detected in Cycle box and click the arrow. In the releases tree, expand the release folder Mercury Tours Application and the release Release 10.5. Select the Cycle 1 - New Features cycle and click OK.
-
Drag the horizontal scroll bar to the right until the Target Cycle column comes into view. Click the Target Cycle box, and click the arrow. In the releases tree, expand the release folder Mercury Tours Application and the release Release 10.5. Select the Cycle 1 - New Features cycle and click OK.
-
-
Update multiple records simultaneously.
-
In the Defects Grid, select defect 35.
-
Hold down the CTRL key, and select defect 36. Now both defects 35 and 36 are selected.
-
Select Edit > Update Selected. The Update Selected dialog box opens.
-
Click the arrow adjacent to the Update Field box, and select Assigned To. Notice that the Value box displays the Assigned To value of the defect you selected last.
-
Click the arrow adjacent to the Value box. The users list opens.

-
In the users list, select michael_alm, and click OK.
-
In the Update Selected dialog box, click Update.
-
After the update completes, an Information dialog box displays a summary of the update. Click OK, then close the Update Selected dialog box.
-
-
View the number of defects opened in Cycle 1 - New Features on the Quality tab.
-
On the ALM sidebar, under Management, select Releases. On the Releases tree, expand the release folder Mercury Tours Application and the release Release 10.5, and select the cycle Cycle 1 - New Features. Click the Quality tab.
-
In the Defect Opening Rate graph, you can see the defects detected in Cycle 1 - New Features according to defect severity.
-
In the Outstanding Defects graph, you can see the outstanding defects in Cycle 1 - New Features according to defect status.
-


