Assign users to groups
After you add a user to the project, you can assign the user to one or more groups. By default, new users are assigned to the project as members of the Viewer group.
You can assign a user to a default group, or to a custom group. You can change the access permissions for existing users at any time by changing the group to which they are assigned.
Tip: You can also assign users to groups from the Project Users customization module. For details, see Assign a user to a user group.
-
In the Project Customization window, in the left pane, click Groups and Permissions.
-
From the group list, select the group to which you want to assign a user.
-
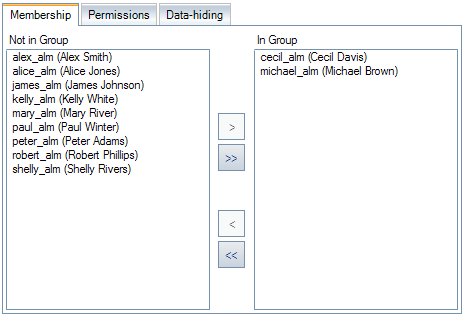
Select the Membership tab to see which users belong to the group.

The users assigned to the group are displayed in the In Group pane. Users not assigned to the group are displayed in the Not in Group pane.
-
To assign a user to the currently selected group, select the user in the Not in Group list and click the right arrow button
 .
.To remove a user from the currently selected group, select the user in the In Group list and click the left arrow button
 .
. To move all the groups from one list to the other, click the double arrow buttons
 .
. -
Click Save.
 See also:


