Share this page


iOS assets for signing apps
Code signing your app assures users that it is from a known source and that it hasn't been modified since it was last signed. Before your app can be installed on a device, it must be signed with a certificate and provisioning profile issued by Apple. The certificate and provisioning profile provide the identity of the developer, and the list of devices on which distribution of the app is allowed.
Generate a development certificate
The steps below describe how to generate a development certificate of an Apple Developer account.
-
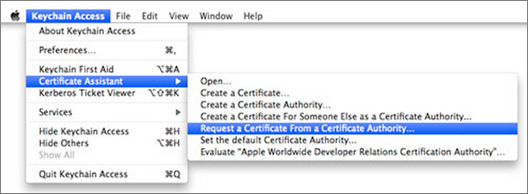
Open the Keychain Access app.
- Select Certificate Assistant > Request a Certificate From a Certificate Authority.
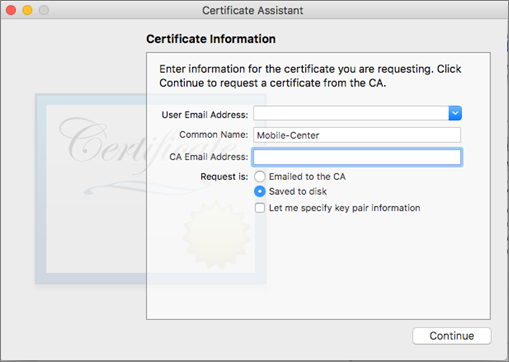
- Enter your email address (twice), name, and select Save to disk. Click Continue. This creates a *.csr file.
- Open a browser and sign into Apple Developer.
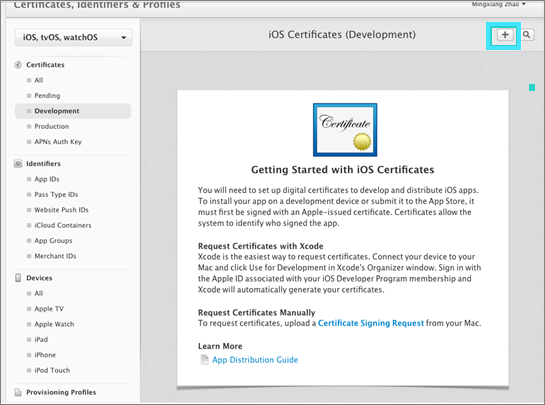
- Select Certificates, Identifiers & Profiles.
- In the Certificate section, select All.
- Click the + (Add) button.
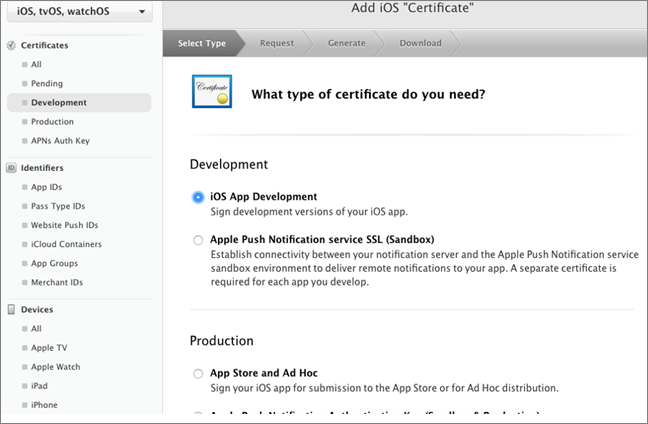
- When you are prompted to indicate the type of certificate, select iOS App Development and click Continue. Click Continue again in the next screen.
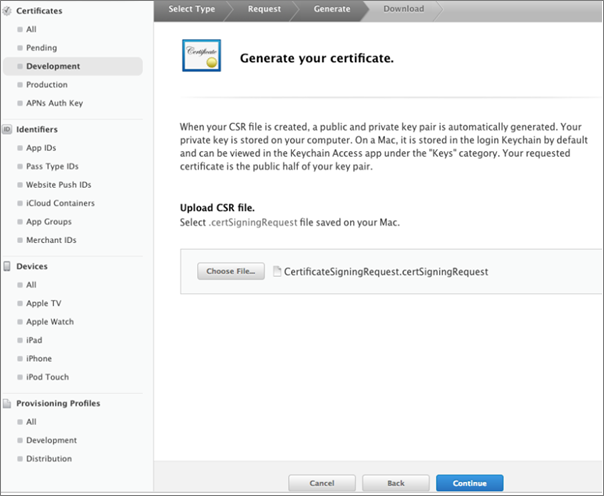
- Click Choose File and locate the *.csr file created above. Click Generate.
- Click Download to save the certificate to your machine.
- Double click on the downloaded certificate to install it to the Keychain Access.
-
Launch Keychain Access on your Mac.

-
In the Keychain Access drop-down menu, select Certificate Assistant > Request a Certificate From a Certificate Authority.
-
Generate a Certificate Signing Request
-
Fill in your name and email.
-
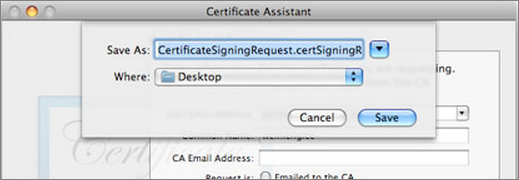
Select Saved to disk and click Continue. A .certSigningRequest file is generated.
-
-
Save the certificate file in a temporary folder on your Mac desktop.
-
Navigate to http://developer.apple.com. Enter your credentials and sign in.
-
Select Certificates > Development and click +.
-
Select Development > iOS App Development. Click Continue.
-
Upload the certificate file (CSR) that you saved in the temporary folder on your Mac, and click Continue.
-
Click Download to download the certificate you created. Save it as ios_development.cer.
-
Click Done to finish the generation of the Development certificate.
-
Find the ios_development.cer in Finder. Double-click on the file to import it to Keychain Access.
-
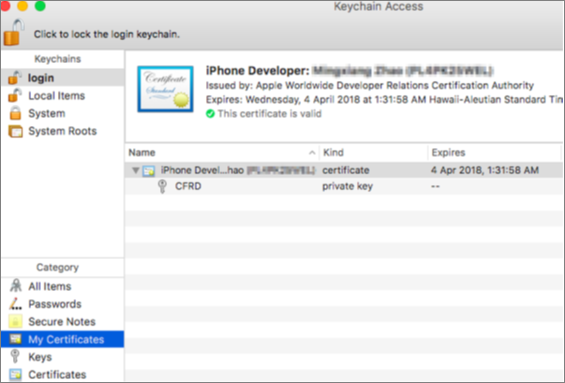
Open Keychain Access. Under login > My Certificates, make sure the certificate is valid, with private key enabled.

Prepare to create a provisioning profile
Provisioning profiles allow you to install apps on your iOS devices. A provisioning profile requires an App ID, device identifier (UDID), and a developer certificate.
Each device under test must be included in the provision profile—its UDID must be included in list of devices.
Note: The provisioning profile is a required for submitting your app to the App Store.
This section describes how to create an App ID and obtain a UDID. For details about generating a Developer certificate, see Generate a development certificate.
The first step in preparing for a provisioning profile is creating an App ID. You should create a wildcard App ID which allows you to match all bundle IDs, and include all the required app services.
To create a App ID:
- Open a browser and sign into the Apple Developer site.
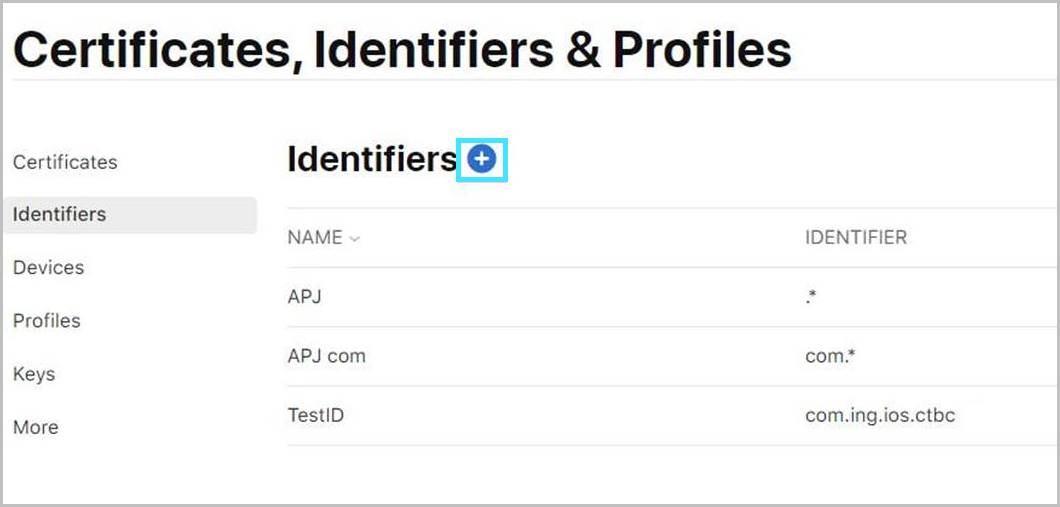
- Navigate to Certificates, Identifiers & Profiles.
-
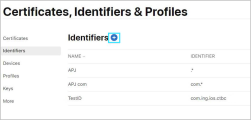
Select Identifiers > App IDs in the navigation pane and click the + (Add) button to add a new Identifier.
-
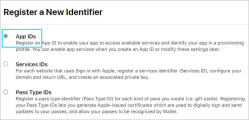
In the Register a New Identifier section, select App IDs.
-
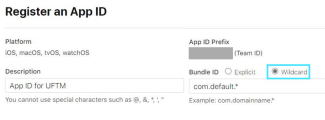
In the Register an App ID section, enter a description for the App ID in the Description field.
-
For the Bundle ID, select Explicit or Wildcard.
- Select Explicit if you intend to use entitlements.
- Select Wildcard if you want to use the same provisioning profile for all apps that include iOS agents. Enter a domain and sub-domain followed by an asterisk (*). A standalone asterisk is not supported.
-
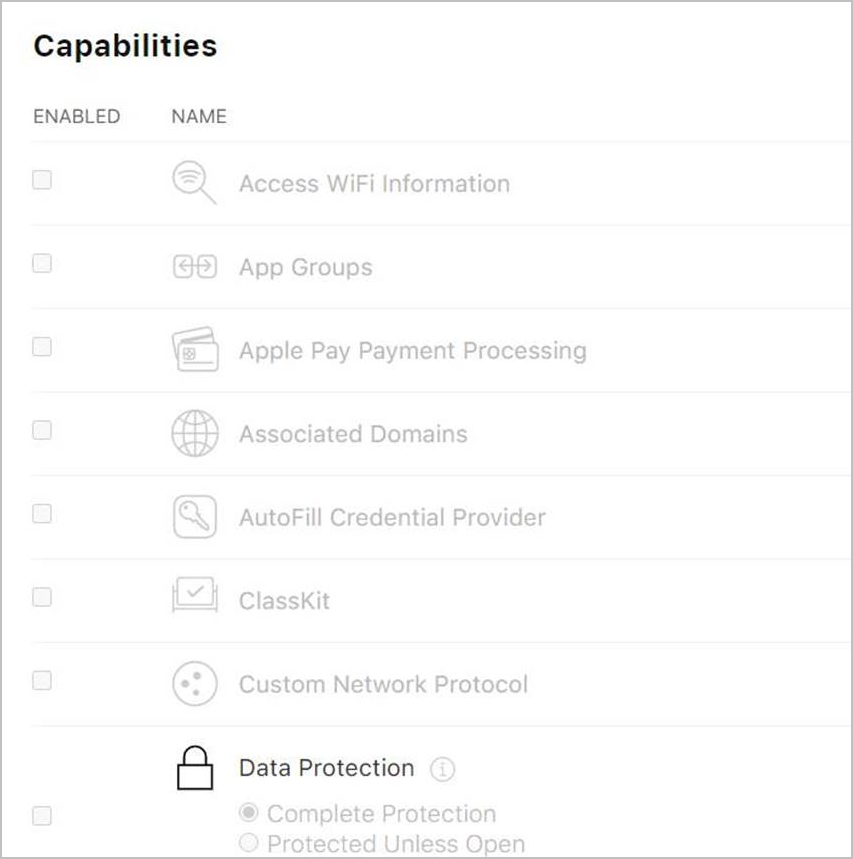
In the Capabilities section, select all the capabilities that you would like to enable in your app.
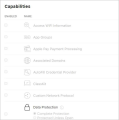
- Click Continue, then Register, then Done to complete the creation of the App ID.


This section describes how to get a UDID (Unique Device ID) of the device you want to include in the provision profile.
To obtain and register the device's UDID:
- Physically connect your iPhone device to your MacBook.
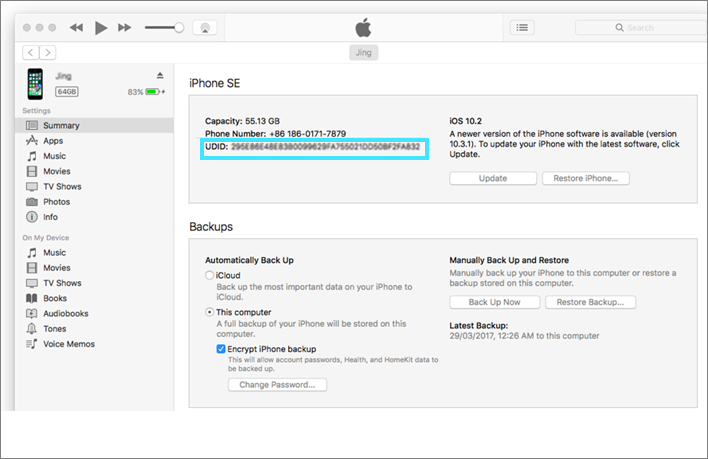
- Start iTunes.
- Locate your device in the list of devices and click it to get the device ID. Copy it to the clipboard.
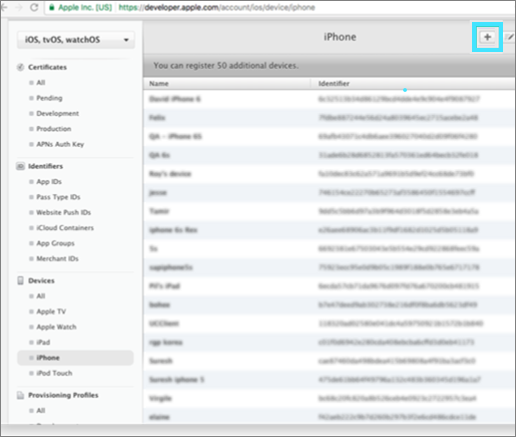
- Navigate to Devices > iPhone and click + (Add) in the upper right-hand corner.
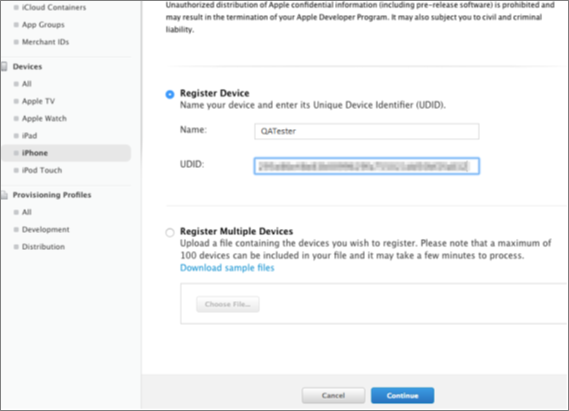
- Choose Register Device. Give the device a name and paste in the device UDID you got from iTunes.
- Click Continue.
-
Physically connect your iPhone device to your MacBook and start iTunes. You can see your device in the list of devices. Click it to get the device UDID and copy it to your clipboard.
-
Navigate to Devices > iPhone and click +.
-
Choose Register Device. Give the device a name and paste in the device ID that you got from iTunes. Click Continue.
Generate a development provisioning profile
Once you have created an App ID, obtained a UDID, and signed a certificate, you can generate a development provisioning profile.
To generate a provisioning profile:
- Open a browser and log in to Apple Developer.
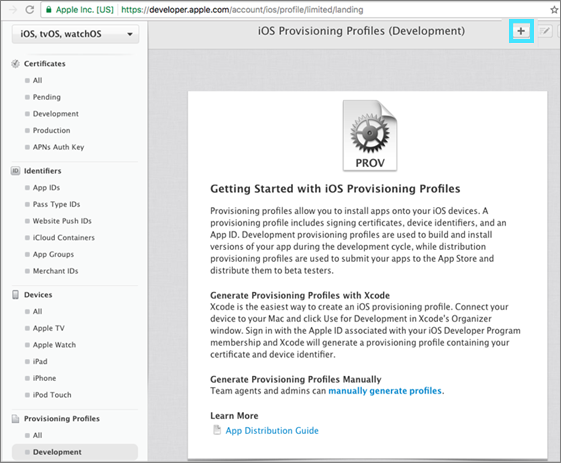
- Navigate to Provisioning Profiles > Development.
- Click the + (Add) button in the upper right-hand corner.
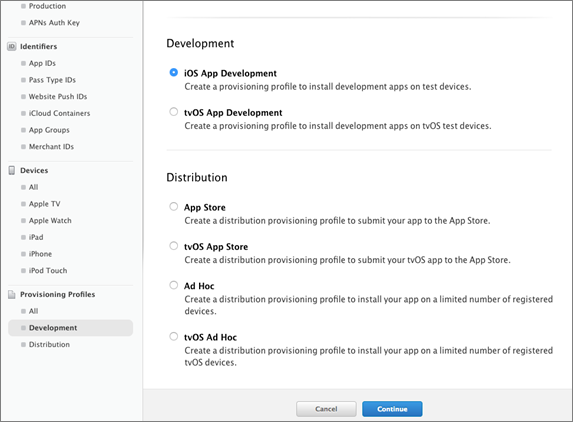
- In the Development section, select iOS App Development. This indicates that you are creating a provisioning profile for development purposes. Click Continue.
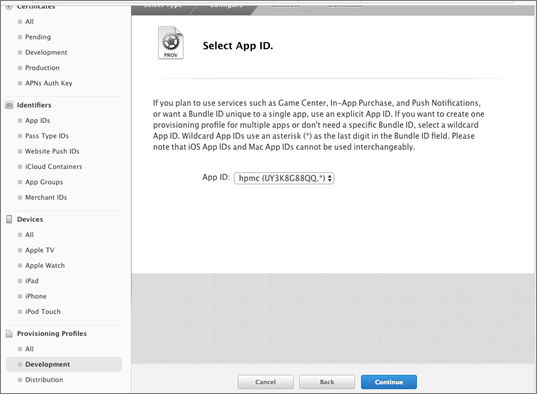
- Choose the wildcard App ID, defined earlier. Click Continue.
- Select your development certificate. Click Continue.
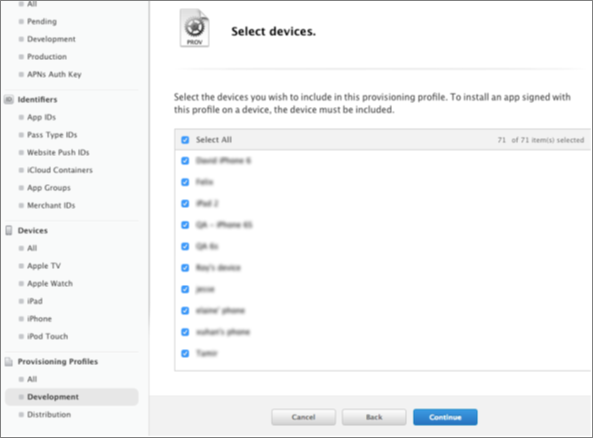
- Select the devices you want to include in the provisioning profile. Make sure the UDIDs of your test devices are included and selected. Click Continue.
- Provide a name for the profile. Click Continue.
- Click Download. After the download, click Done.
After you have successfully created a wildcard App ID and registered your device's UDID, you are ready to create a provisioning profile.
- Go back to the Apple Developer site.
-
Navigate to Provisioning Profiles > Development. Click + in the upper right-hand corner.
-
In the Development section, select iOS App Development. This indicates that you are creating a provisioning profile for development purposes. Click Continue.
-
Choose the wildcard App ID, defined earlier. Click Continue.
-
Select your development certificate. Click Continue.

-
Select the devices you want to include in the provisioning profile. Make sure the UDIDs of your test devices are included and selected. Click Continue.
-
Provide a name for the profile. Click Continue.
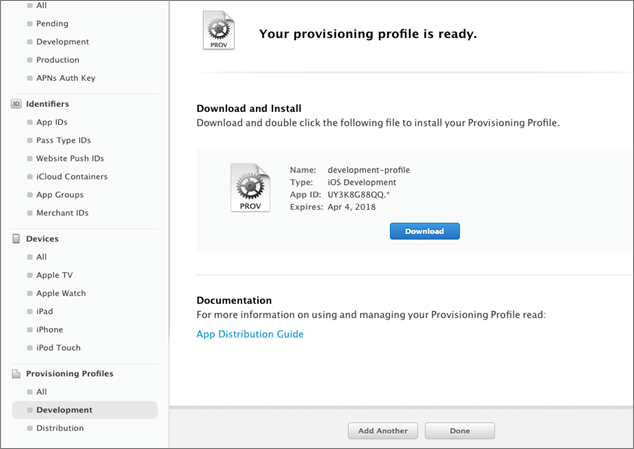
- Click Download. After the download, click Done.
 See also: