Share this page


The My Work area
Track and update your assigned work with a personalized to-do list of work items in the My Work module.
My Work overview
The My Work module is divided into three tabs: My Work, Notifications, and Comments. A blue dot indicates that there are new items.
My Work tab
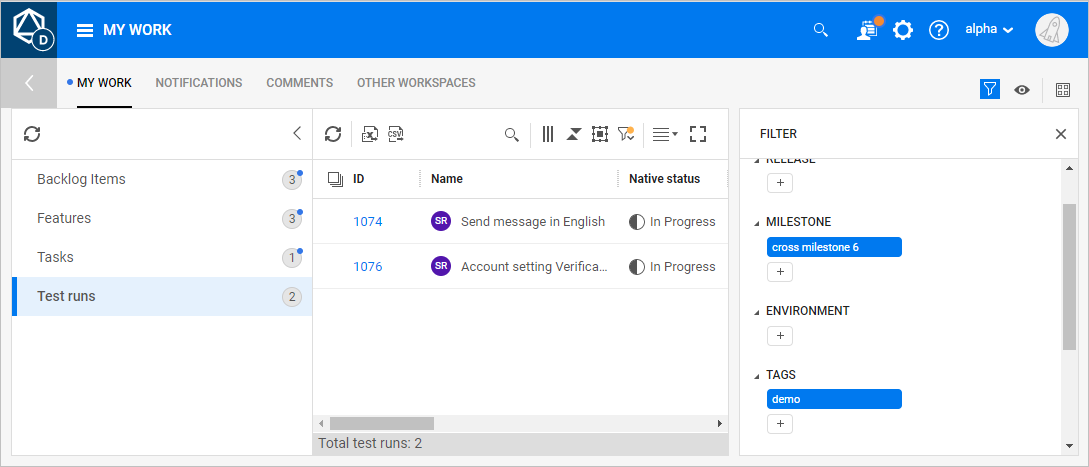
The My Work tab contains three panes: Item types, Item list, and the Filter/Preview pane.
| Pane | Description |
|---|---|
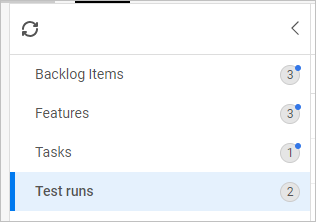
| Item types |
The left pane shows the item types that were assigned to the My Work section. For example, types can be backlog items, features, user stories, or defects that were assigned to you.
Tip: Click the left arrow in this pane to hide it. |
| Item list |
The middle pane displays a list of the items for the type selected in the left pane. It also includes items explicitly added to My Work. You can refine the display with filtering, color assignment, and grouping. For details, see Refine your display. The following items are displayed for Tests and Test runs:
|
| Filter pane |
To view the Filter pane, click the Filter button Click the Hide panel X icon in the right pane to close it. |
| Preview pane |
To view the Preview pane, click the Preview button Tip: Open the Preview pane to learn why the selected item is in your My Work area. For example:
Click the Hide panel X in the right pane to close it. For details, see Sidebars. |
 in the right sidebar. In this pane, you can define criteria to reduce the items listed in the grid. For details, see
  in the right sidebar. Click an item in the middle pane to see information about the selection.
 Notifications tab
The Notifications tab displays any item on which you set the Follow option. For details on following items, see Notifications and emails.
It contains two panes: Notification list, and the Filter/Preview pane.
Comments tab
The Comments tab displays all comments that mentions your ALM Octane user name.
It contains two panes: Comment list, and the Filter/Preview pane.

Manage your items
You can update your work items directly from within the My Work module.
To manage your items:
-
To explicitly add any item to My Work, right-click the item in the Backlog module and select Add to My Work.
-
In the top banner, click the My Work
 button to go directly to the My Work module.
 A dot on the button indicates that you received a new notification
 .
. -
Do the following to manage your work:
Action How to Update item details Click on an item's ID to open it. Then perform an action such as:
-
Change an item's phase
-
Update a description
-
Add comments
-
Run a planned test run
Right-click menu Right-click an item in the list in the middle pane, and choose an option:
- View details in a new tab. Opens the item's Details in a new browser tab
- Copy link. Adds a link to the item on the clipboard.
- Send by email. Opens the Send Email form.
- Follow. Sends you a notification upon changes to this item.
- Filter By Name. Displays all items with the selection’s name.
- Show Name in History. Opens the item's History tab.
- Dismiss. Removes the item from the list. If you dismiss item from your list, it can be reassigned again, depending on the workspace rules.
- Mark as unread. A blue dot indicates unread items.
-
Tip: When working in other modules and viewing a grid of entities, for example features, add the In my work column and enable it, to display only those items that are shown in My Work.
Create a rule to assign items
By default, ALM Octane displays items in the My Work page of the owner. It is also possible to display an item in the My Work module of other users. To do this, create a rule to assign the item to these users.
To create a rule to assign items:
-
In Settings
 , select Spaces in the Administration section.
 -
Select the Entities tab.
-
In the list of entities, select the entity for which you want to assign the rule.
-
In the entity details, select the Rules tab and click +.
-
In the Add Rule dialog, specify the rule details:
Tab Details Action - Action: Select add to stakeholder's My Work area
- Add to field. Select either Author or Owner
Condition - Field: Select Phase
- Operator: Select =
- Phase name (unlabeled): Select the phase from the list.
-
To save the rule, click OK.
For details on working with rules, see Design business rules.