Share this page


Microsoft Project options
Microsoft Project options are used to configure the interaction between Microsoft Project and the Plug-in for PPM. Use these options to set the language and to activate or deactivate save prompting, highlighting, backups, and log files.
Set language for the Plug-in for PPM
Both PPM and Microsoft Project provide support for multiple languages. The Plug-in for PPM also supports multiple languages. Setting the language for the Plug-in for PPM provides standard translations of static interface elements of the PPM menu in Microsoft Project. By default, the language used by the Plug-in for PPM is the language configured for Microsoft Project.
When the language setting is changed and the preferences are saved, Microsoft Project must be restarted for the change to take effect.
The following fields can be used to set the language for the Plug-in for PPM.
|
Field |
Description |
|---|---|
|
Use Microsoft Project language |
Default selection. Select this checkbox to use the language that is configured for Microsoft Project. If this checkbox is selected and you change the language for Microsoft Project, the language for the Plug-in for PPM automatically changes to the language of Microsoft Project when Microsoft Project is restarted. If the language configured for Microsoft Project is not supported by PPM, the Plug-in for PPM does not load. At a minimum, the |
|
Language |
Select a language used by the Plug-in for PPM. If the Use Microsoft Project language checkbox is selected, you cannot select a language in this field. If you select a language, this selection is not affected by any changes you make to the Microsoft Project language. By default, Dutch, English, French, German, Italian, Japanese, Korean, Portuguese, Russian, Simplified Chinese, Spanish, and Turkish are the language selections available. Additional language selections are determined by the language packs installed on the PPM Server or if properties files have been translated and deployed (see the Multilingual User Interface Guide for more information). |
Note: The Plug-in for PPM language setting only affects the PPM menu and dialogs. The language settings in PPM and Microsoft Project determine how menus, dialogs, and data is displayed in the respective applications.

Deactivate Save Prompting
When you save a Microsoft Project file that is associated with a Project Management work plan that is Microsoft Project-controlled or shares control, you are prompted to send the work plan to Project Management. This gives you the option to send changes to Project Management.
If you do not want the option to send changes to the Microsoft Project work plan to Project Management after saving the file, you can deactivate the prompt. By default, the prompt is enabled.
To deactivate save prompting:
-
Open the project in Microsoft Project.
-
Select PPM > User Preferences.
-
In the Microsoft Project tab, unselect the Prompt me to update the associated project in PPM when I save the Microsoft Project file checkbox.
-
Click Save.
Enable highlighting for work plans
You can enable the Plug-in for PPM to change the color of the scheduled dates that are automatically changed by Microsoft Project in the Microsoft Project table view for work plans controlled by Project Management. When enabled, the default color is blue but can be set to a different color in the Project Management project-level settings (see Microsoft Storage Location for PPM System Information).
To enable highlighting:
-
Open the project in Microsoft Project.
-
Select PPM > User Preferences.
-
In the Microsoft Project tab, select the Highlight schedule slip in PPM control mode checkbox.
-
Click Save.
If your project is large, enabling this option may decrease the performance of synchronization.
Load Plug-in for PPM on Demand
By default, when starting Microsoft Project, the Plug-in for PPM is loaded automatically. However, it may take some time to load the Plug-in for PPM. If this delay is not acceptable, you can set a preference to load the Plug-in for PPM when you want to use it.
To load the Plug-in for PPM on demand:
-
Open the project in Microsoft Project.
-
Select PPM > User Preferences.
-
In the Microsoft Project tab, unselect the Load PPM Plugin on Startup checkbox.
-
Click Save.
Back up Microsoft Project files
By default, every time work plan information is successfully sent from Microsoft Project to Project Management, the open .mpp file is saved and a copy of the .mpp file is saved to a backup file. The backup file has the same name as the .mpp file but uses the extension .bak. By default, the directory to which the backup file is saved is the same directory in which the original .mpp file is stored.
Note: When .mpp file and user settings point to different PPM Server URLs, a warning message pops up asking you to choose one.
If you experience an integration error related to the deletion of a task or resource in Microsoft Project that had actuals, you can use the backup copy as a starting point from which to reapply your most recent edits. See Deleting Required Tasks or Tasks/Resources with Actuals for more information.
You can enable or disable the automatic backup and set the backup directory from the PPM Plugin Preferences page.
Note: Automatic backups do not occur for Microsoft Project Server-based projects.
To activate or deactivate backups and to set the backup directory:
-
Open the project in Microsoft Project.
-
Select PPM > User Preferences.
-
In the Microsoft Project tab, select the Back up the Microsoft Project file after synchronizing with PPM checkbox to turn on automatic backups. Clear the checkbox to turn off automatic backups.
-
Optionally, set the backup directory in the Save backup project files to field. By default, the directory to which the backup file is saved is the same directory in which the original
.mppfile is stored. -
Click Save.
Enable synchronization logs
By default, logging synchronization information between Project Management and Microsoft Project is unavailable (this also helps to optimize performance). You can choose to enable information tracing for synchronizations, making detailed synchronization logs available from the Info tab of the Errors, Warnings, and Info window.
To enable full information tracing for a synchronization:
-
Open the project in Microsoft Project.
-
Select PPM > User Preferences.
-
In the Microsoft Project tab, select the Enable logging checkbox.
-
Optionally, type the directory in which to save the log files.
Note: If the user does not have permission to write to the Plug-in for PPM log file, logging is unavailable.
-
Click Save.
Enable data trace logging
You can enable logging for importing tasks from PPM Center. With this log available, you can see what and how (in which sequence) tasks information is imported.
- Open the project in the Microsoft Project.
-
In the Add-Ins tab, select PPM Center > User Preferences.
-
In the Microsoft Project tab, select Enable logging and Enable data trace logging.
The Enable data trace logging option is turned off unless you select the Enable logging option. By default, the Enable logging option is not selected.
-
(Optionally) Select the directory in which the log files are saved.
-
Click Save.
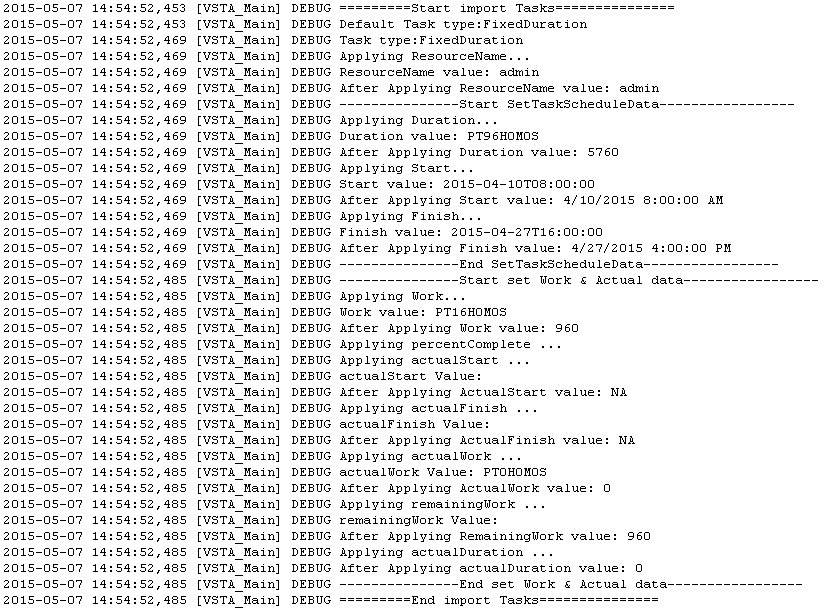
After you import tasks from PPM Center, the log is recorded in the
msp.logfile located in the directory you specified.The following is an example of the log for importing tasks.