Begin your run
You click the Run button
 in the Run Setup area, your run begins and the Sprinter main Window is hidden.
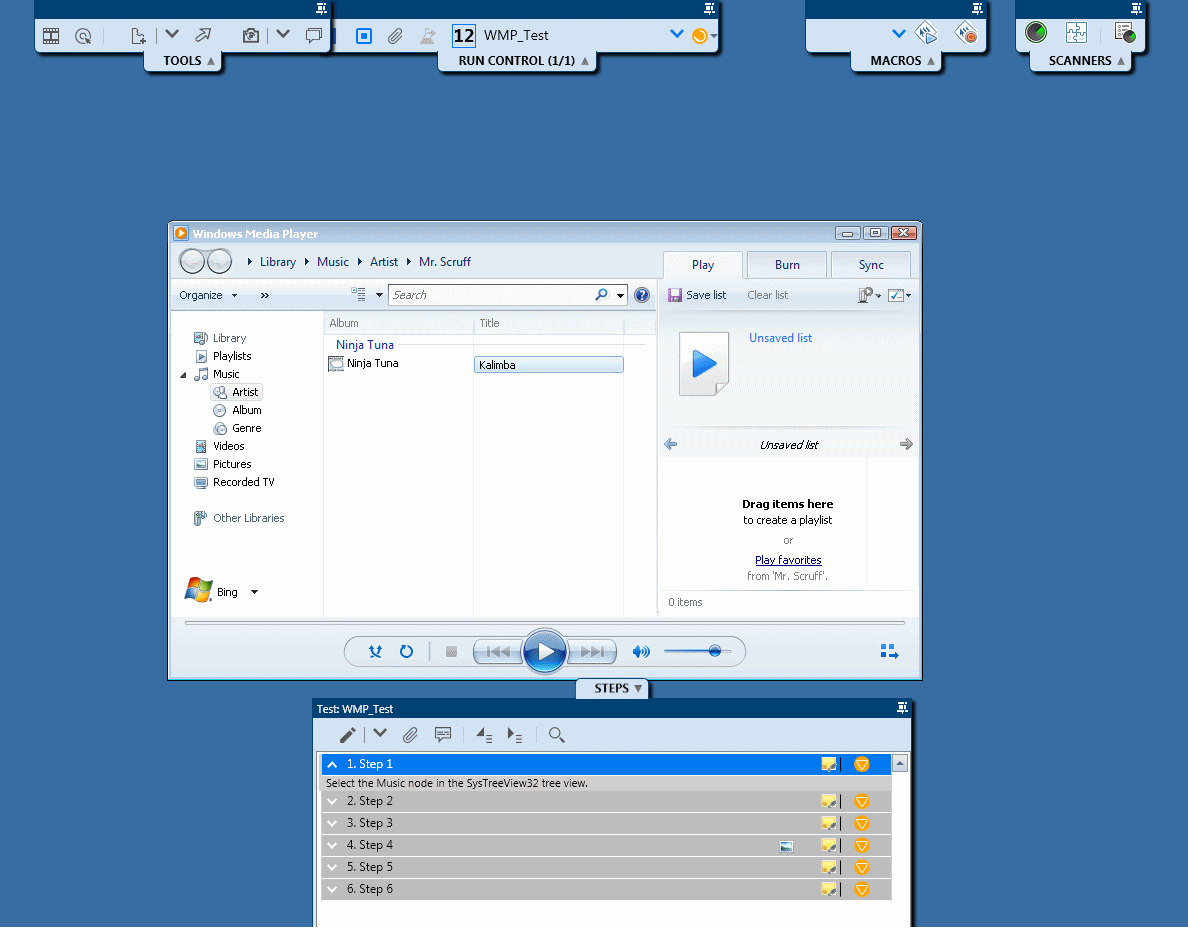
You immediately notice that Sprinter is taking up very little screen space. You see that you access Sprinter's functionality during your run through sidebars that are positioned around the perimeter of your display.
You can open one, several, or all of the sidebars at once by clicking their tabs. Sidebars automatically open and close as you click on or off them, and you can lock them in the open position and reposition them, as needed.

This design provides you with the maximum use of your display to view your application and run your test, and enables you to expose specific Sprinter functionality as needed.
Since you used the Quick Add feature to define the application for your test, Sprinter starts your application automatically at the beginning of the run for you.
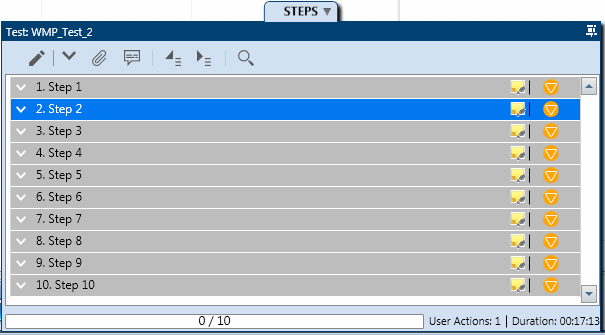
You click on the Steps tab, so that you can view the test steps in the Steps sidebar.

You skim the steps in your test and view their description, expected result, and any attachments.
Since you already skimmed through all the steps in your test, you decide to switch to Subtitles mode by clicking the Subtitles button  in the Steps sidebar. Subtitles mode displays the description of each step as a subtitle on your screen instead of the sidebar, and enables you to mark the step's status and add attachments to steps. This provides even more screen real estate, enabling you to view even more of your application.

As you perform the steps in your test, you mark each step's status in the right column, for example Passed or Failed.
Now you are ready to Submit a defect.


