Share this page


View results
You can view test data displayed in real time or after a test has completed in multiple graphs or from consolidated reports. Online and offline analysis capabilities include performance trending, anomaly detection, and root cause analysis.


View the results list
The Results page, shows a list of all the load tests run in a specified date range.
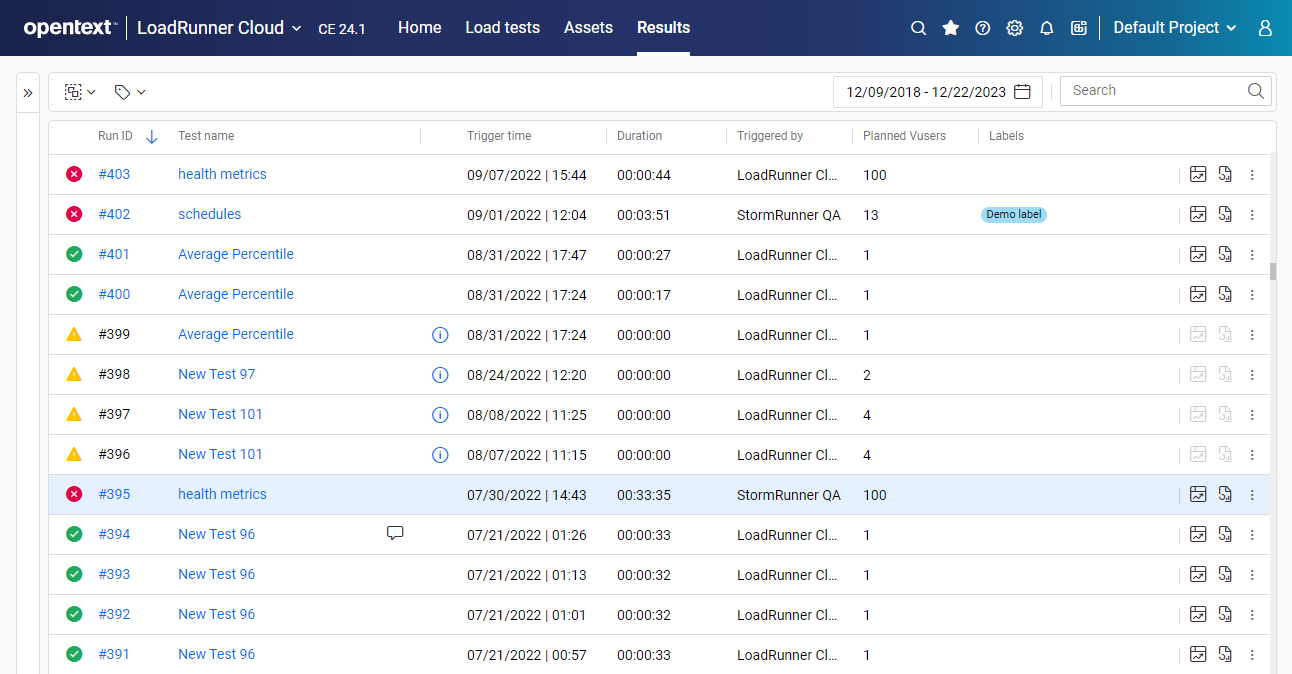
Configure the view
You can configure and sort the load tests included in the list using the following options:
| Group by |
Click
|
| Assign and filter by labels | For details, see Assign labels below. |
| Date range | Select the start and end dates for the range. |
| Search | Search for load tests that include a specific string in the name. |
Navigate to graphs and reports
For each load test run, you can navigate to different graphs and reports to analyze the results. In the row for a specific load test run, you can select from the following options:
| Action | Description |
|---|---|
|
Open the Dashboard pane |
Click Dashboard |
| Open the Report pane |
Click Report |
|
Export results to a CSV file |
Click |
|
View Single user performance reports |
Click |
|
Add note to test result set |
Click |

Assign labels
Use labels to help you organize scripts in your repository, or to organize your load tests in the Load tests and Results pages. The labels you create are common to both scripts and load tests.
Labels can be nested in sub-categories:
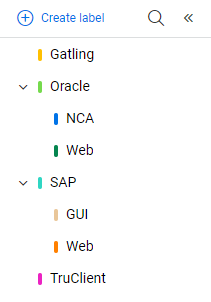
The expandable labels pane is located to the left of the grid. Click the left or right double arrows at the top to show or hide the pane.
You can perform the following actions for labels:
| Action | How to |
|---|---|
|
Create a label
|
|
| Edit a label |
From the Labels pane, highlight a label. Click the vertical ellipsis |
| Delete a label |
From the Labels pane, highlight a label. Click the vertical ellipsis Removing a label also removes any sub-labels. |
| Assign a color to the label |
From the Labels pane, highlight a label. Click the vertical ellipsis |
| Add a sub-label |
From the Labels pane, highlight a label. Click the vertical ellipsis |
| Manually assign a label |
You can assign a label to a script manually after the script has been uploaded.
Use the Search box |
| Automatically assign a label |
You can assign a label to a script automatically when uploading the script. To assign a label to a script automatically, select the required label before uploading the script's .zip file or before dragging and dropping the script into the Assets > Scripts page. Note: To assign a label to a script uploaded from a Git repository, you must use Git agent 2022.10 or later. |
| Filter by a label |
You can filter scripts, load tests, and results by a specific label. In the Labels pane, highlight a label or sub-label to filter the displayed items.
Use the Search box |
 to select a label color.
 and select Edit.
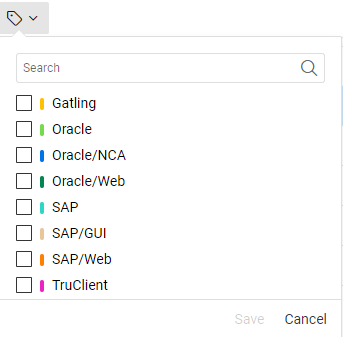
 to find a label name.
 to find a label name.
 See also: