
Share this page


Use BPT branches
This topic describes how to add additional structure to your business process test using branches and branch options. These are helpful when your app has a dynamic functionality and interface, or the common user flow is non-linear.
Branch and condition example
Branches are added to the BPT test flow as a control-type element, enabling you to instruct UFT One how to proceed when a certain condition is met.
Inside each branch, specify different actions for UFT One to take, depending on application status during runtime. Each action UFT One takes is defined inside a branch option.
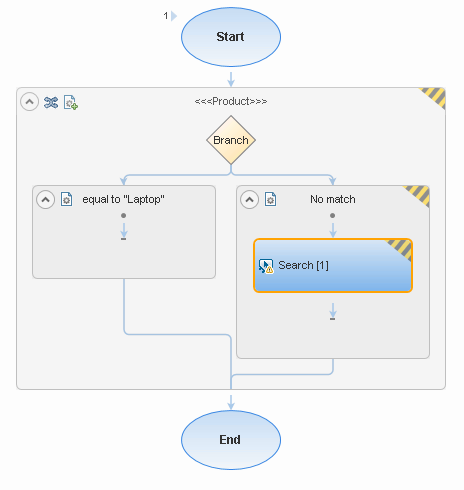
In the following example, if the Product parameter value is found to be equal to Laptop, the test flow is ended.
However, if no match is found, the Search component is run instead, and then the flow is ended.

Add branches to your test
Start with a basic business process test with components, and then add branches in the test flow grid or the canvas.
For more details, see Add components to business process tests and flows.
Do the following:
-
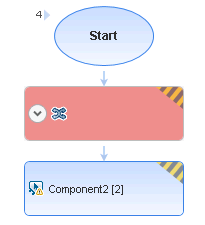
In the test flow grid or the canvas, select the component or components, group, or flow for which you want to add the branch.
Note: If a selected group already contains a branch, you cannot use the selected group in a second branch. Likewise, if the branch already contains a group, the branch cannot be added to the group.
-
In the toolbar, click the Add New Branch button
 . A new branch is added to the test.
For example:
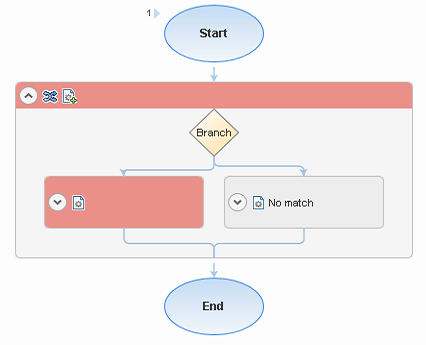
The branch is colored red by default, indicating that edits are required before you can run this test.
-
Click the
 down arrow in the branch to edit and view the contents.
 Each branch is created with a default, blank option, as well as a No match option, to handle the scenario of no match being found for the configured value. The blank option is also colored red, indicating that edits are required before you can run this test.
-
In the branch header, click the
 Add Branch Option button to add more options, as needed for your application’s user flow.
A maximum of 8 options is supported for each branch.
-
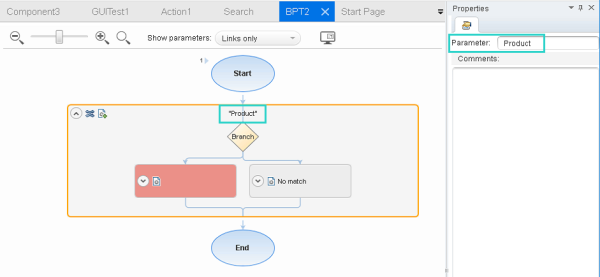
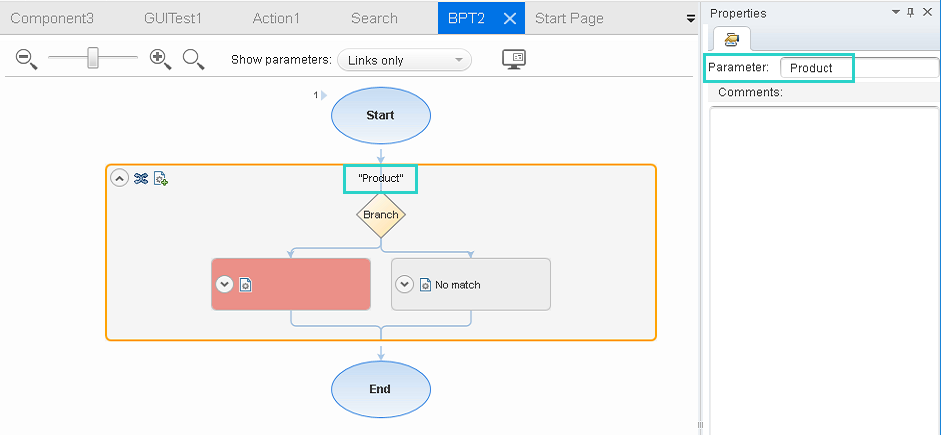
Define your branch properties. Select the branch to show the Properties pane on the right, and define a parameter name.
In the Parameter field, either enter a constant value, or hover or click to display the
 parameterization button.
 To parameterize the value, click the
parameterization button, and select the parameter you want to use in this branch.The branch is updated with the name you've defined.
For example:
Tip: Enter a comment in the Comments field to describe the branch you've created.
-
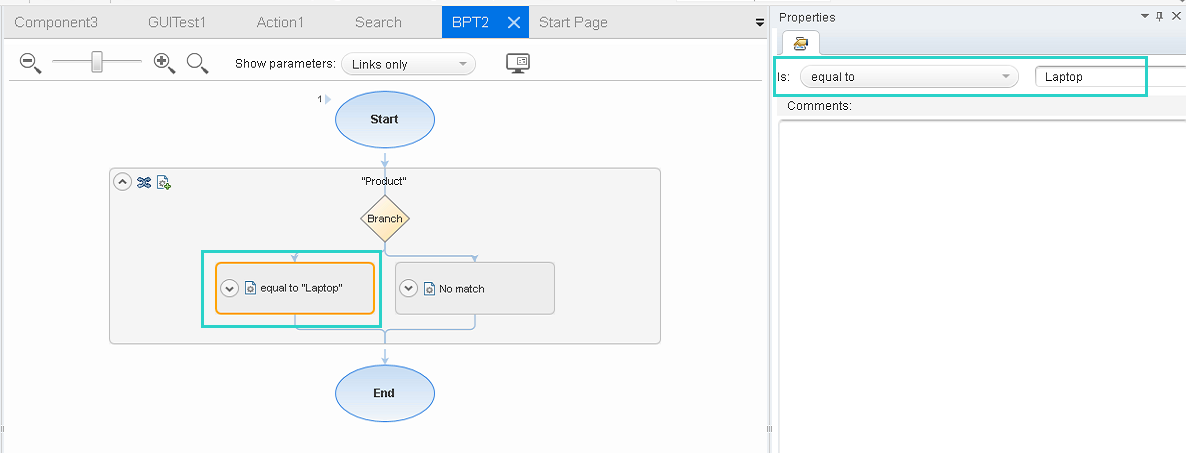
Select a branch option. In the Properties pane on the right, define the option properties.
The following example configures the option to take a specific action when the Product parameter is found to be equal to Laptop.

Tip: Enter a comment in the Comments field to describe the option you've configured.
-
Add one or more components to the branch option, either by dragging them from elsewhere in the test, or adding a new one.
For more details, see Add components to business process tests and flows.
When you run your test, the results for each step show the branch option used, depending on the values found in the application at the time of the test run.
For example:
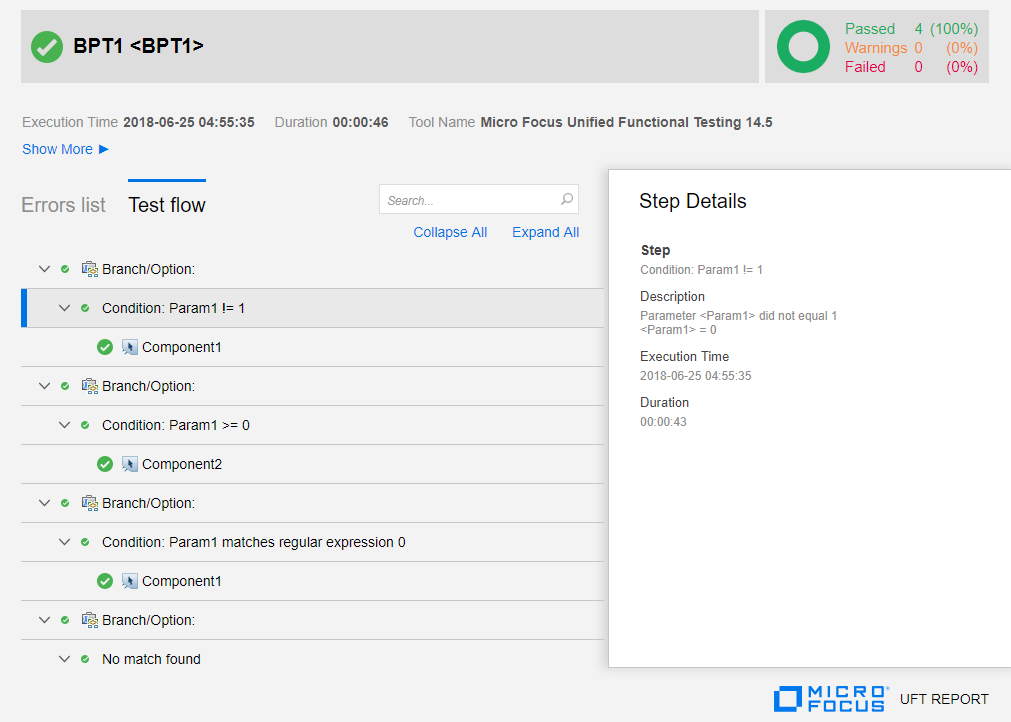
For more details, see Use run results.
Note: Branching details are not displayed when using the Run Results Viewer. Use the HTML run results to ensure that your reports include the branching data.
 See also:


