Create a set of mapping rules automatically
This task describes how to use Extensibility Accelerator to automatically create one set of rules that identifies the types of controls for which the test object class is used.
Perform this task separately in the Map to Controls tab (Test Object Class designer) in each relevant Rule Creation panel and within each relevant browser-specific tab.
Note: This task is part of a higher-level task. For details, see Map a test object class to application controls.
Prerequisites
Follow the first three steps in Map a test object class to application controls.
Make sure that running scripts or ActiveX controls is enabled in the browser running your application.
Start the control selecting session
Click the Select Controls button to start the control selecting session.
Extensibility Accelerator is hidden, and two buttons are displayed at the top of the screen: Create Rules and Cancel.
Move your mouse over your open applications
The mouse pointer is converted to a pointing hand.
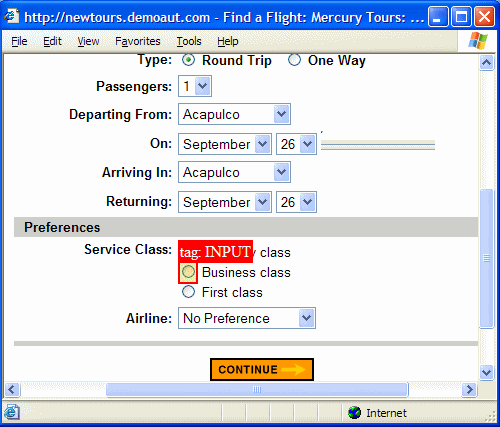
Each control that you move over is highlighted in the application, and the name of the HTML element that represents the control is displayed. In the image below, the INPUT HTML element is displayed for a highlighted radio button control:

Tip: In many cases, you can hold the left Ctrl key to change the pointing hand to a standard pointer and perform operations in your application, such as navigating to different Web pages, clicking links, selecting edit boxes to enter information, or selecting from drop-down lists. (Keep in mind that the browser behavior might be affected by the fact that the Ctrl key is pressed.)
If a specific page does not load properly when navigating to it this way, load that page in an additional browser before beginning the session for selecting controls.
If you navigate to a different Web page, the highlighting process continues on the page that opens, after it is fully loaded.
Choose a control
Click on a control of a type that you want to support with this test object class.
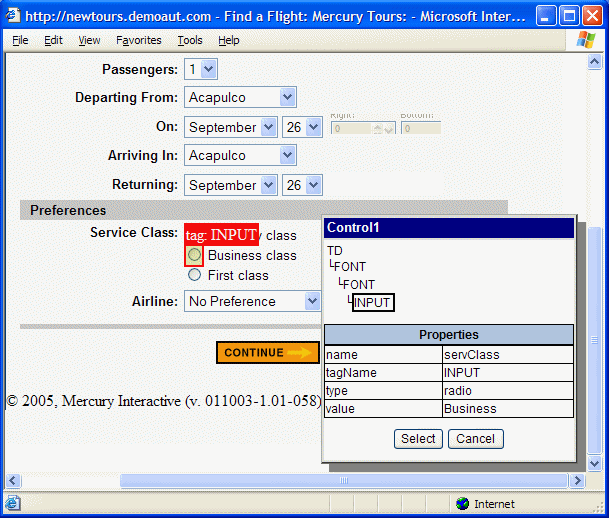
ASelection dialog box opens on top of the browser, displaying the properties of the HTML element that represents the selected control:

The top part of this dialog box displays additional elements in the control's HTML hierarchy.
Note: To view the properties of a different HTML element, or to select it to represent the control, select the element from the displayed hierarchy.
Click the Select button
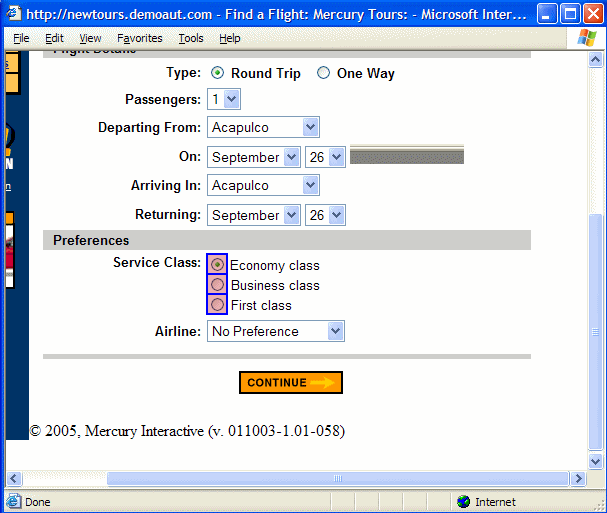
The selected control is highlighted in the application. In the image below, the radio button controls are selected:

Select additional controls
Select additional controls that need to be supported by the same test object class
Try to select several controls that need to be treated as the same type of control and share common properties, but are not identically implemented. The quality and accuracy of the rules that Extensibility Accelerator creates is affected by the number of controls you select, and their diversity.
Modify your selection of controls - Optional
To deselect a control, click the control and then click Delete in the Selection dialog box.
To specify a different HTML element to represent a selected control, click the control, select the appropriate element from the hierarchy displayed in the Selection dialog box, and click Apply.
Complete the process
Complete the process by clicking the Create Rules button, or click the Cancel button
The control selecting session ends.
Results
If you clicked Create Rules, the following happens:
Extensibility Accelerator creates mapping rules for this test object class based on properties that are common to all of the controls you selected. If a large majority of the selected controls share common properties, the remaining controls might be ignored when creating the rules.
If appropriate, the created rules might contain regular expressions. For example, if you select two ASP.NET Ajax accordion panels, one that is selected (
className = accordionHeaderSelected) and one that is not (className = accordionHeader), the created rule will include a regular expression condition:className equal accordionHeader*Caution: Any rules previously contained in this panel of the Map to Controls tab are now replaced.
If the controls do not have enough properties in common, no rules are created.
Tip: If you want to use the same test object class to support different types of controls, use this automatic process to create rules that identify one type of control. Then edit the rules manually to include additional types, for example, by adding rules with Or or And NotEqual logic.
The highlighting is removed from the application.
The rules are displayed in the rule editor area in the Map to Controls tab and added to the relevant Identification element in the toolkit configuration XML file, in Conditions elements.


