Share this page


Create mobile tests
After you have configured your UFT Developer-Digital Lab (UFT Mobile) connection, as described in Connect to the mobile device lab, you can start creating mobile tests.
Create a new test in your IDE
Create a new UFT Developer project, or a new UFT Developer test in an existing project and import the Mobile SDK.
To create a new test
-
In your IDE, create a new project or a new test in an existing project. For details, see Create a UFT Developer testing project or module.
A new class is presented in your IDE.
 Code example for UFT Developer Java SDK and JUnit.
package com.company;


import org.junit.After;
import org.junit.AfterClass;
import org.junit.Before;
import org.junit.BeforeClass;
import org.junit.Test;
import com.hp.lft.sdk.*;
import com.hp.lft.verifications.*;

import unittesting.*;

public class UFTDeveloperTest extends UnitTestClassBase {

	public UFTDeveloperTest() {
	//Change this constructor to private if you supply your own public constructor
	}

	@BeforeClass
	public static void setUpBeforeClass() throws Exception {
	instance = new UFTDeveloperTest();
	globalSetup(UFTDeveloperTest.class);
	}

	@AfterClass
	public static void tearDownAfterClass() throws Exception {
	globalTearDown();
	}

	@Before
	public void setUp() throws Exception {
	}

	@After
	public void tearDown() throws Exception {
	}

	@Test
	public void test() throws GeneralLeanFtException {
	}

}
-
Add the following code to import the mobile SDK:
Java:
import com.hp.lft.sdk.mobile.*;C#:
using HP.LFT.SDK.Mobile;JavaScript:
var LFT = require("leanft");
var Mobile = LFT.Mobile;
The mobile package includes all the services and APIs required for automating your mobile app.

Select the device and application
Select the application and device to test through a remote access window in UFT Developer.
After you launch the AUT on the device, you can spy it to create identification code for your test objects. You can use descriptive programming or model the application using application models to create the test script.
To select the device and application
-
Make sure the UFT Developer runtime engine is running. For details, see Start/Stop the runtime engine.
-
From your IDE toolbar, click the relevant option in the UFT Developer menu to launch a mobile device on Digital Lab (UFT Mobile):
UFT Developer 23.4 and later Launch a Digital Lab Device.
UFT Developer 2023 Launch a UFT Digital Lab Device.
UFT Developer 2021-2022 Launch a UFT Mobile Device.
-
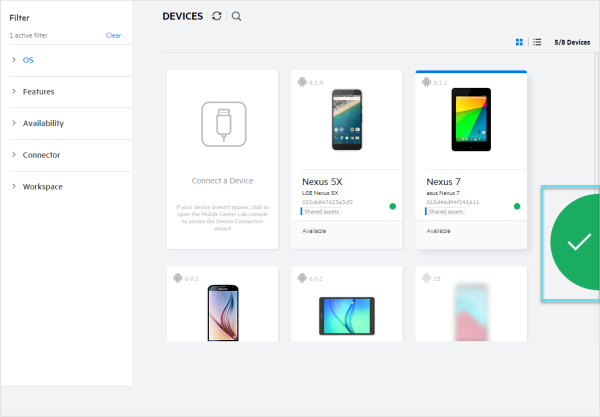
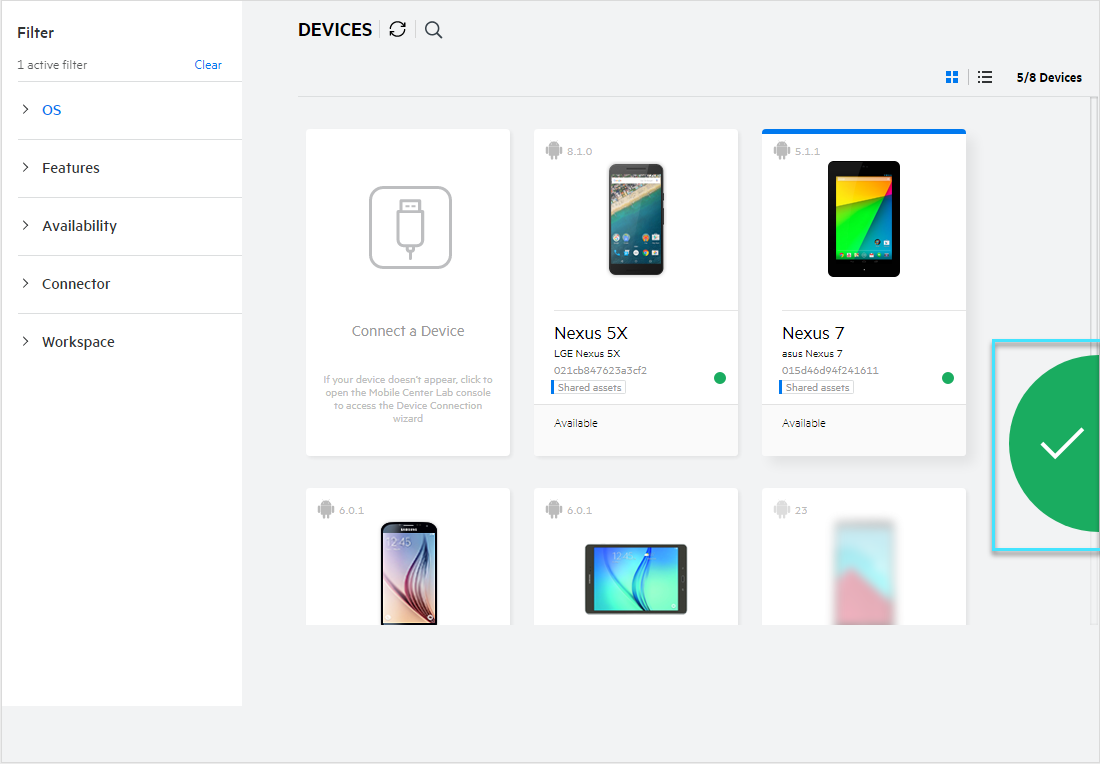
In the window that opens, locate the required device. Use the filters in the Filter pane or use the search capability. For more information on finding a device, see Finding specific devices.
-
Select the device you want.
Depending on the version you are using, after you click the device, you may need to click the check mark on the right, or click Save and Close.
UFT Developer 24.2 and later: If your Digital Lab (UFT Mobile) is connected to devices from other sources, such as an AWS Device Farm, Genymotion, or WeTest, the devices from those sources are visible here as well.
UFT Developer 23.4 and earlier: If your Digital Lab (UFT Mobile) is connected to an AWS Device Farm, the devices from those sources are visible here as well.
-
From the device, do one of the following:
- Launch an application. Locate an application that is already installed on the device, and click the application icon.
-
Install an application. If the application that you want to test is not installed on the device, do the following:
- In the Control Panel (the left pane in the Digital Lab (UFT Mobile) dialog box), expand Device Interactions.
- Click the Install App
 button.
 - Click the application that you want to install. If you want to install a packaged version, select the Use packaged version check box. For information on packaging, see App packaging and signing services.
- If you want the application to remain installed on the device when the session finishes, clear the Uninstall this app at the end of the current session check box.
-
Click Install.
The application opens on the device.
Write the test script
Mobile testing scripts usually start with code for locking a device in Digital Lab (UFT Mobile) so that only UFT Developer can perform operations on your devices during a run session. Locking a device is done by using the MobileLab class, which is part of the UFT Developer SDK.
You can lock a specific device by ID or name, or dynamically lock an available device, based on specified device properties (such as operating system or manufacturer).
UFT Developer 24.2 or later: For devices hosted on AWS and OpenText, you can specify whether to use public or private devices, and for OpenText public devices, you can specify the geographic location of the device.
For details, see the MobileLab class in the .NET, Java, JavaScript SDK reference.
Note: Locking a device is a time-consuming process. If you run multiple tests on the same device, lock the device once before all tests and not once per test.
Example (Java):
Device device = MobileLab.lockDeviceById("LGH961N1b5d4280");
When the script runs, the device is locked using the specified ID in Digital Lab (UFT Mobile). The call to lockDeviceById returns an object of type Device (or iDevice in C#), which provides you with all the APIs needed to manipulate that device.
Tip: You can copy the device ID from the remote access window. The ID is presented at bottom-left corner of the window.
When the test runs, Digital Lab (UFT Mobile) selects an available device that matches the defined properties, and locks it for the run session.
- If no device is found, an exception is thrown.
- If a device is already locked by a user, the same user can lock the device for a different test by its name or ID. However, locking it by one of its properties is not allowed, and throws an exception.
- You can optionally specify applications to install on the device, as well as a device source, such as an AWS Device Farm.
Example: Operating system (osType) and version (osVersion)
To select a device with Android 4.4.2:
var device = MobileLab.LockDevice(new DeviceDescription
	{	osType = "Android",
		osVersion = "4.4.2"
	}
);:
-
Use one of the getDeviceList get a list of devices.
- Run the lockDevice method for each device.
At the end of the script, unlock the device using the device.unlock() method.
Launch or install the AUT
Create code in your script to launch or install the AUT, on your device.
app.install();
app.launch();
Use the Object Identification Center to generate the code that identifies the app object. Spy the application, and then click within the application. In the Object Identification Center, select the Application node, and then click the Generate code to clipboard button. Paste the code to your script. The generated code provides you with an Application object. which is used in your script from this point on to manipulate the application itself. Assign the returned value to a variable of type Application. For example:
Application app = device.describe(Application.class, new ApplicationDescription.Builder()
				.identifier("com.Advantage.aShopping")
				.packaged(true).build());
Identify test objects
You can describe your test objects identification by using descriptive programming or by modeling the application using Application models.
Identify test objects using the Object Identification Center
Spy the application to create test objects, as described in Object Identification Center.
Model test objects using application models
Use Application models to model test objects.
The root of the Application Model is the Application object rather than the Device object. This enables you to model your application once, and reuse it for testing the application with different mobile devices. The device is passed as an argument.
Test object hierarchy
The flow for creating mobile test objects for native apps, hybrid apps, and Web apps is the same. The difference between them is the test objects hierarchy.
| App type | Hierarchy |
|---|---|
| Native app | Device > Application > Test object |
| Hybrid app | Native objects: Device > Application > Test object |
| Web objects: Device > Application > WebView > Page > Test object | |
| Mobile Web app |
Browser > Page > Test object Note: This is the hierarchy displayed for Web applications in general, not just mobile browsers, supporting cross-browser testing. |
Perform actions on test objects
You already created a new test in Create a new test in your IDE. Use the Mobile APIs to add steps to your test.
Close or uninstall the application
At the end of your script, use the Application.kill method to close the application or the Application.uninstall method to uninstall the application. For details, see the.NET, Java, and JavaScript SDK references.
Test a non-packaged app
To test a non-packaged (non-instrumented) app, set the Packaged value to false.
For example:
var app = device.Describe<IApplication>(new ApplicationDescription
{
  Identifier = @"com.sample.UICatalog",
  Name = @"UICatalog",
  Version = "2",
  Packaged = false
});
Test examples
Automating a mobile native application (.Net)
[Test]
public void ExampleMobileNativeAppTest()
	{
	// Mobile tests usually start by locking a device from Digital Lab (UFT Mobile). In this step, we'll lock a device by its ID
	IDevice device = MobileLab.LockDeviceById("HT52RWM00361");

	// Identify the application we want to work on
	IApplication app = device.Describe<IApplication>(new ApplicationDescription
	{
		Identifier = @"com.Advantage.aShopping",
		IsPackaged = true
	});
	app.Install();
	app.Launch();

	// In the application we want to work on, identify the label with the text "LAPTOPS" and tap on it by calling the tap() operation
	app.Describe<ILabel>(new LabelDescription
	{
		Text = @"LAPTOPS",
		ClassName = @"Label",
		ResourceId = @"textViewCategory",
		MobileCenterIndex = 2
	}).Tap();

	// Click on the image of the laptop we would like to add to the cart
	app.Describe<IUiObject>(new UiObjectDescription
	{
		ClassName = @"ImageView",
		Container = @"Table[0][1][0]",
		ResourceId = @"imageViewProduct",
		MobileCenterIndex = 0
	}).Tap();

	// Click on the "ADD TO CART" button
	app.Describe<IButton>(new ButtonDescription
	{
		Text = @"ADD TO CART",
		ClassName = @"Button",
		ResourceId = @"buttonProductAddToCart",
		MobileCenterIndex = 0
	}).Tap();

	// Login with username and password and press on the LOGIN button, using the application model objects of the user name field,// password, and login button
	MobileAppModel1 appModel = new MobileAppModel1(device); // Create an instance of the MobileAppModel class
	appModel.AdvantageShoppingApplication.UserNameEditField.SetText("demo_user"); // Enter user name
	appModel.AdvantageShoppingApplication.PasswordEditField.SetSecure("597eeefe1aabcc5812089a773b8a947b8098"); // Enter password
	appModel.AdvantageShoppingApplication.LoginButton.Tap(); // Press on the login button

	app.Kill();
	app.Uninstall();
}
Automating a mobile native application (Java)
@Test
public void exampleMobileNativeAppTest() throws GeneralLeanFtException {

	// Mobile tests usually start by locking a device from Digital Lab (UFT Mobile). In this step, we'll lock a device by its ID
	Device device = MobileLab.lockDeviceById("MY_DEVICE_ID");

	// Identify the application we want to work on
	Application app = device.describe(Application.class, new ApplicationDescription.Builder()
		.identifier("com.Advantage.aShopping")
		.packaged(true).build());
	app.install();
	app.launch();

	// In the application we want to work on, identify the label with the text "LAPTOPS" and tap on it by calling the tap() operation
	app.describe(Label.class, new LabelDescription.Builder()
		.text("LAPTOPS")
		.className("Label")
		.resourceId("textViewCategory")
		.mobileCenterIndex(2).build()).tap();

	// Click on the image of the laptop we would like to add to the cart
	app.describe(UiObject.class, new UiObjectDescription.Builder()
		.className("ImageView")
		.container("Table[0][1][0]")
		.resourceId("imageViewProduct")
		.mobileCenterIndex(0).build()).tap();

	// Click on the "ADD TO CART" button
	app.describe(Button.class, new ButtonDescription.Builder()
		.text("ADD TO CART")
		.className("Button")
		.resourceId("buttonProductAddToCart")
		.mobileCenterIndex(0).build()).tap();

	// Login with username and password and press on the LOGIN button, using the application model objects of the user name field,// password, and login button
	MobileAppModel appModel = new MobileAppModel(device);
	appModel.AdvantageShoppingApplication().userNameEditField().setText("demo_user");
	appModel.AdvantageShoppingApplication().passwordEditField().setSecure("597eeefe1aabcc5812089a773b8a947b8098");
	appModel.AdvantageShoppingApplication().loginButton().tap();


	// Cleanup after the test
	app.kill();
	app.uninstall();
}
 Next steps: